Roster Management
The roster function provides an overview of the shifts for the week organised in a way that allows you to easily view particular days of the week.
A Roster allows you to define a roster for staff who have a consistent and continuous work schedule.
The first step is to create your global/regular roster. If you edit or update a roster for a given week then the previous and following week will maintain the global/regular roster.
Create and Edit a Global Roster
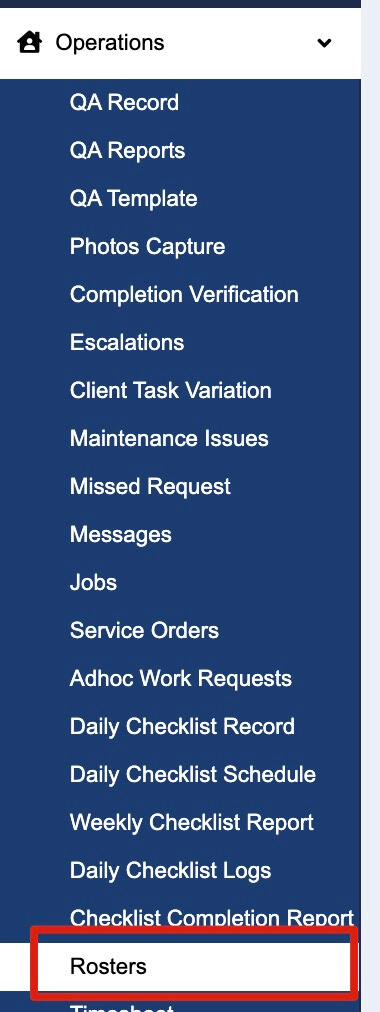
1. Go to “Operations”->”Rosters”

2. Click on “Create Roster”

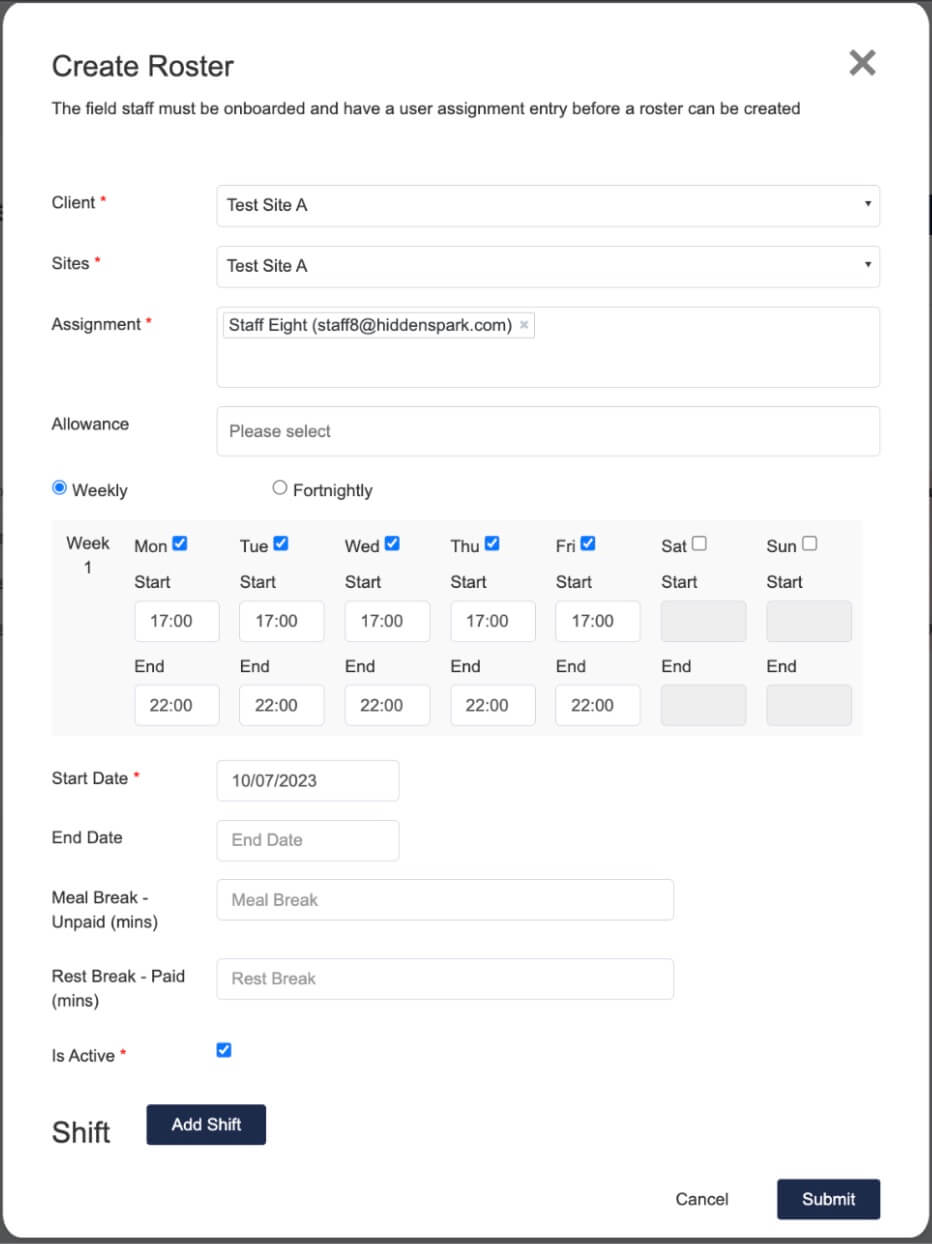
3. Fill in the Roster details
Select Client and Site, then assign the roster to an employee.
Select the day and time for the employee, then enter the start day of the roster.
(Note that the roster will need to start on Mondays and end on Sundays.)
Make sure to activate the Roster by ticking the “Is Active” box.
Fill in other details such as allowance and breaks based on needs.

4. Click on “Submit” to create the Roster

5. The Roster will appear in the list
(Make sure to select the correct client and date to view the Rosters.)

6. Click the “Action” icon to view the actions

7. Click on “Edit Roster” to edit the Global Roster

8. Click on “Delete Roster Week” to delete the Rosters of the selected week.

Edit daily Roster
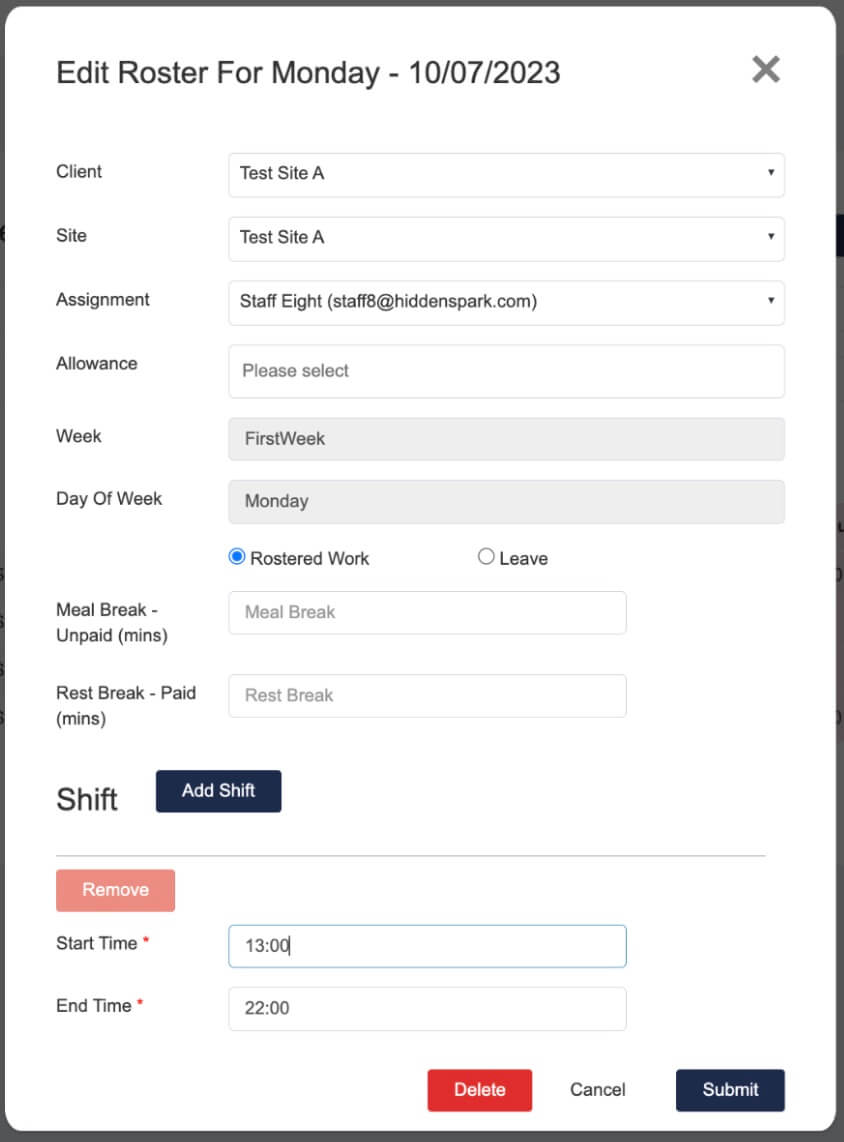
9. Click on the “edit” icon to edit the daily roster

10. Edit the detail and save the Roster

11. The Roster of the current week will be changed.

Swap Roster
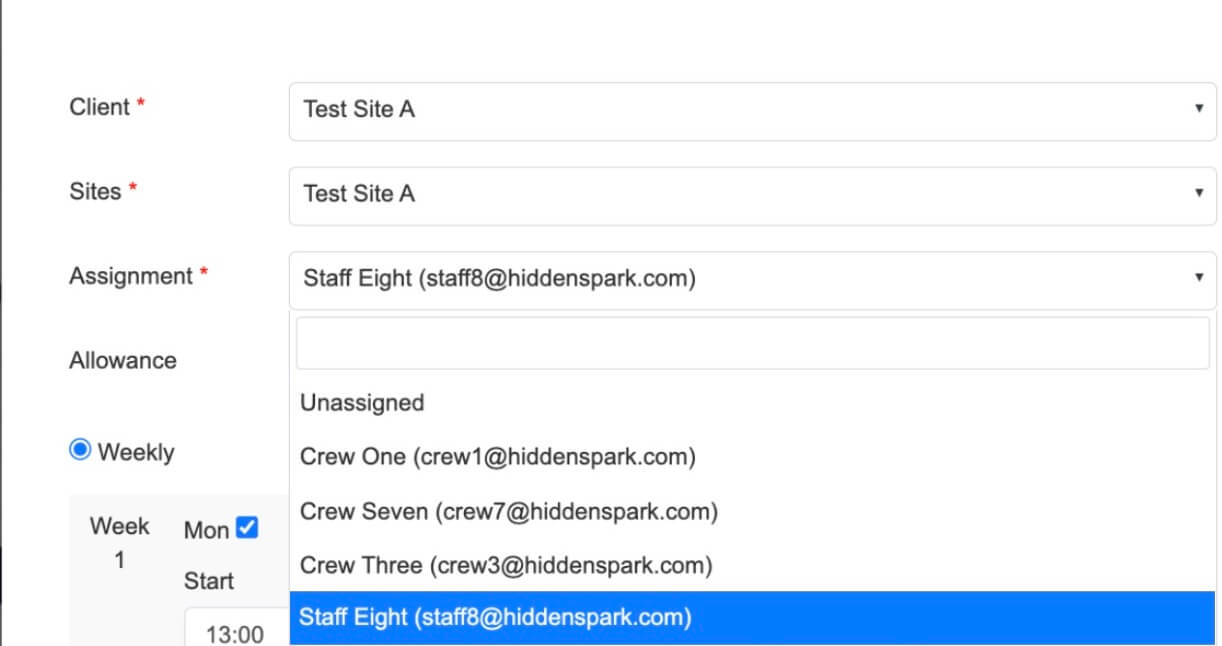
12. If wants to Swap Roster, click on “Action” then “Edit Roster” 
13. Select a different person to complete the Roster

14. Click “Submit” to confirm the change

15. The Roster has now been assigned to another employee.

