How Can We Help?
QA Records
- Go to Operations -> Quality Assurance (QA) -> QA Reports
Click “Create” button to create a new QA report.

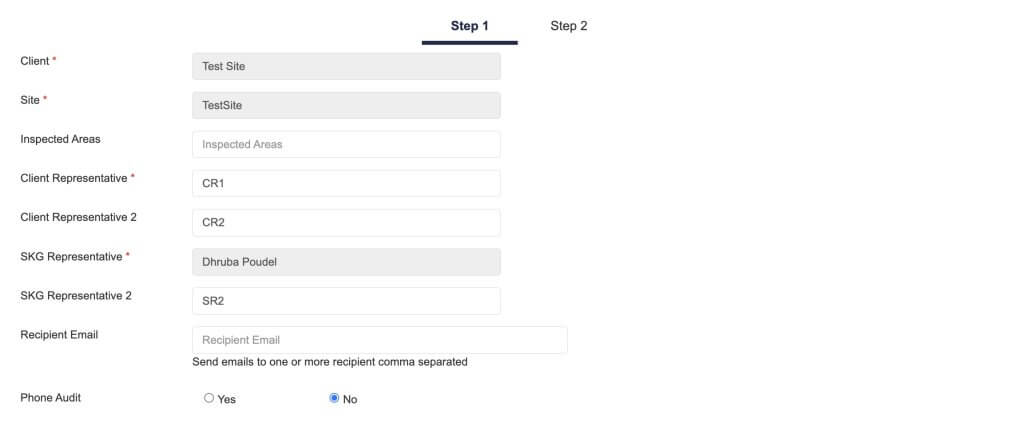
- Fill in details as required below.
- Fill in Client/SKG representative details. The second Client/SKG representative are optional, fill in the names if needed.
- Recipient Email – If the QA report need to be sent to other recipients, please fill in their email addresses in this field.
- Phone Audit – If the QA is completed with the client through phone calls then choose Yes. If in person then “NO”
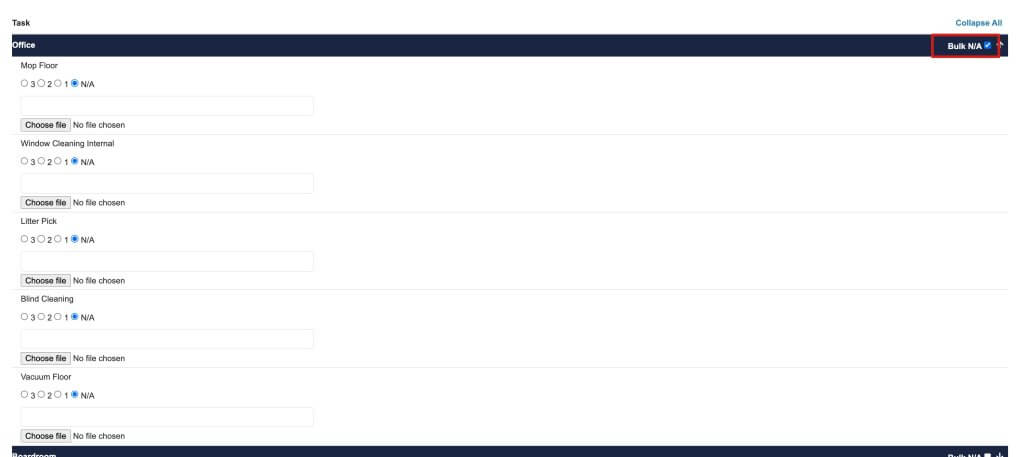
- You can add comments and upload photos for each task. If a group of task is not completed, you can tick Bulk N/A at the top right corner, this will apply N/A to all the tasks.
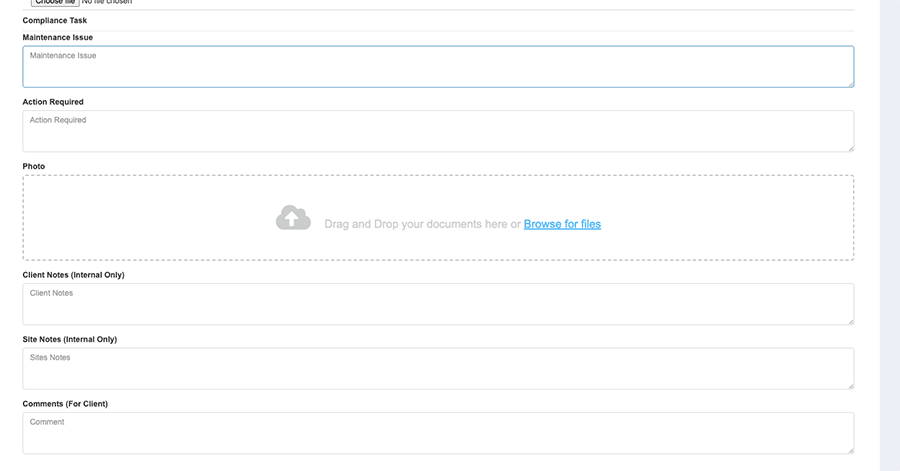
- Add in more details if needed.
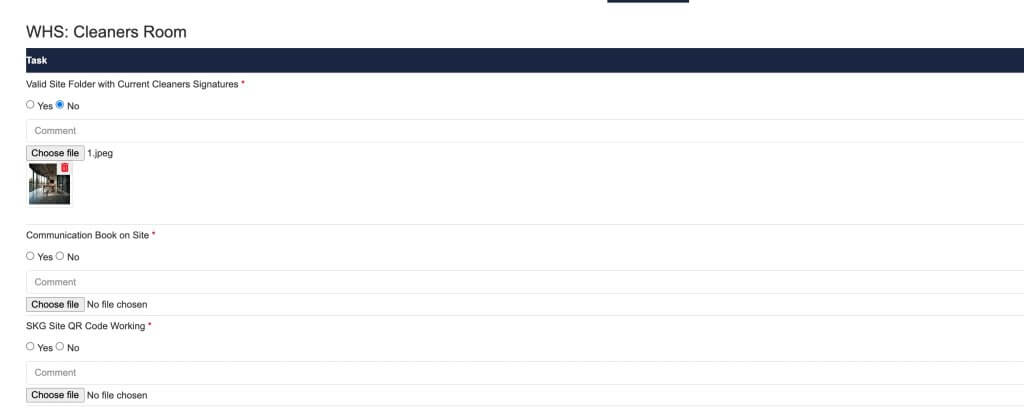
- Step 2 – Cleaners Room
Check cleaners room and add attachment if needed.
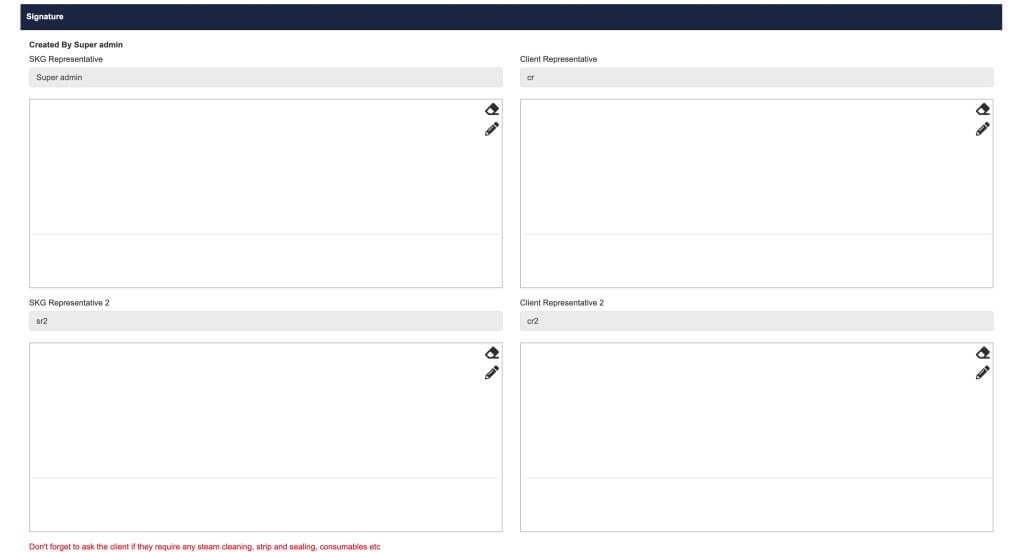
- If all details are confirmed, add SKG Signature and client signature.
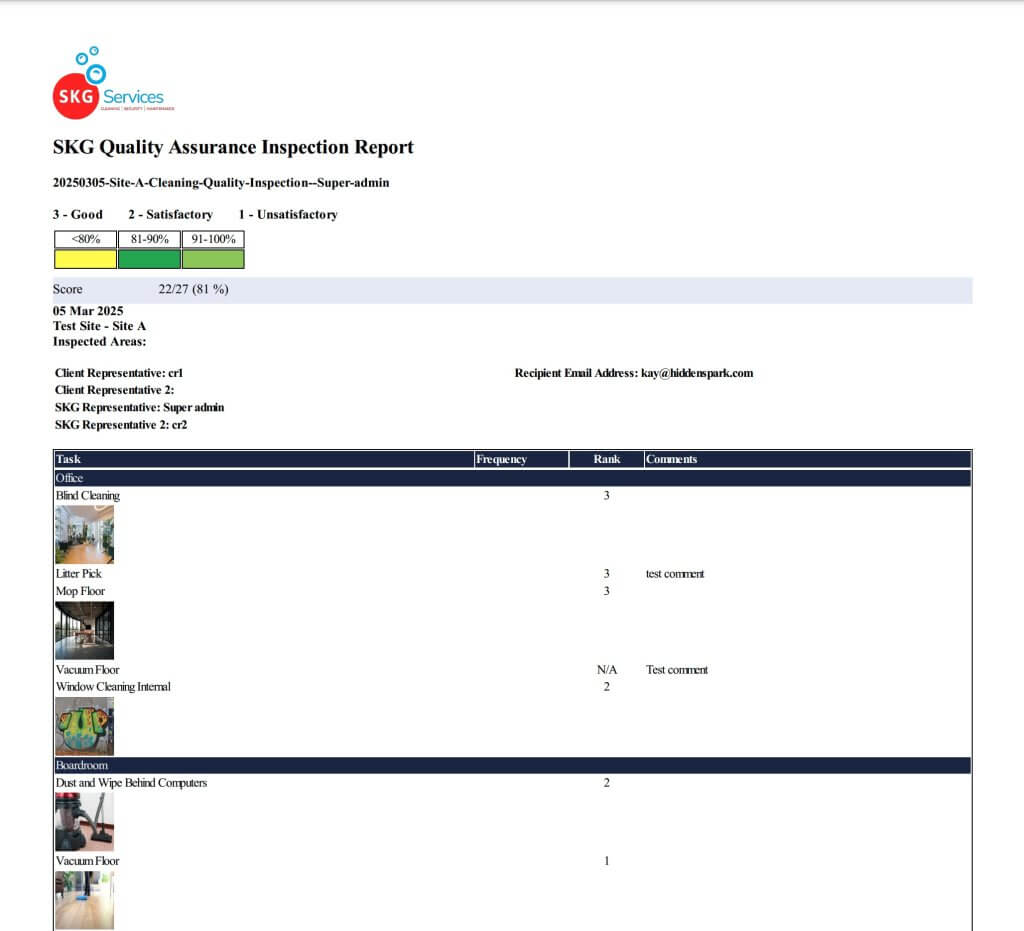
- After the QA report is created. You can view the QA report pdf through the attachment button.

If there’s any issue with pdf generation, click the “regenerate” button to regenerate the pdf.

The pdf template will be based on the market facing entity.
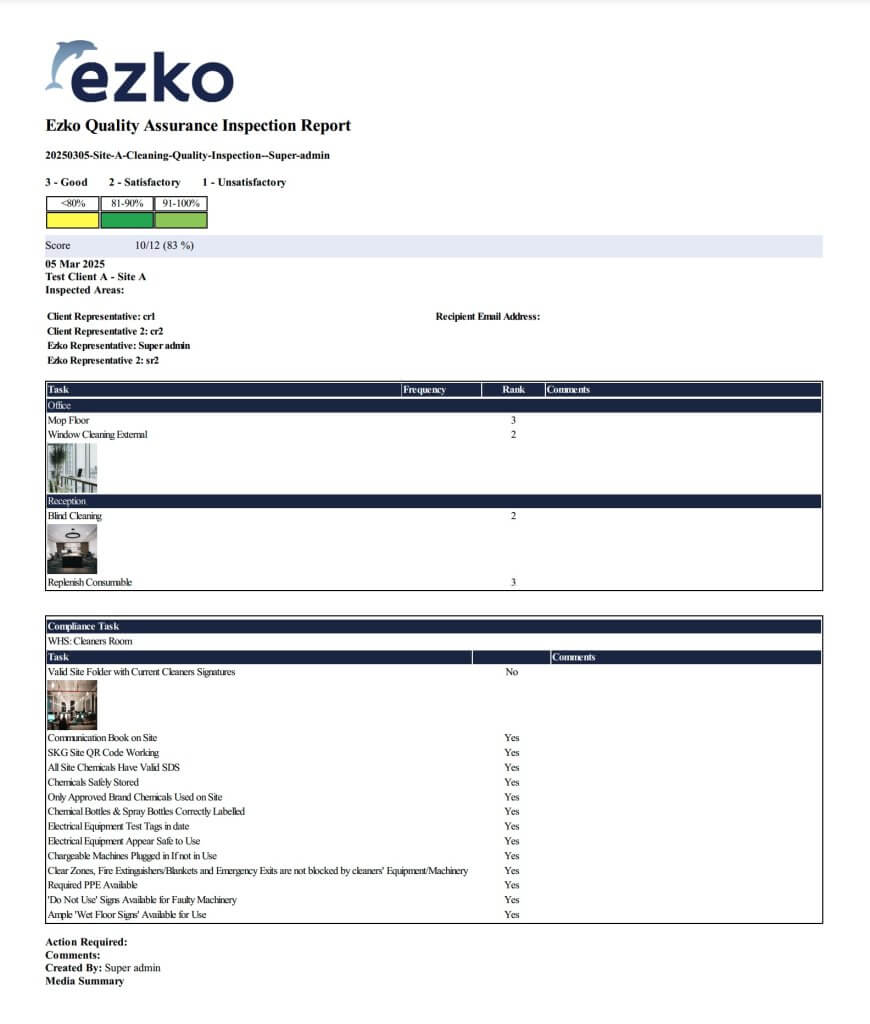
*Sample SKG QA report
*Sample Ezko QA report
