How Can We Help?
Create Termination
- Go to “Business Development” > “Termination”
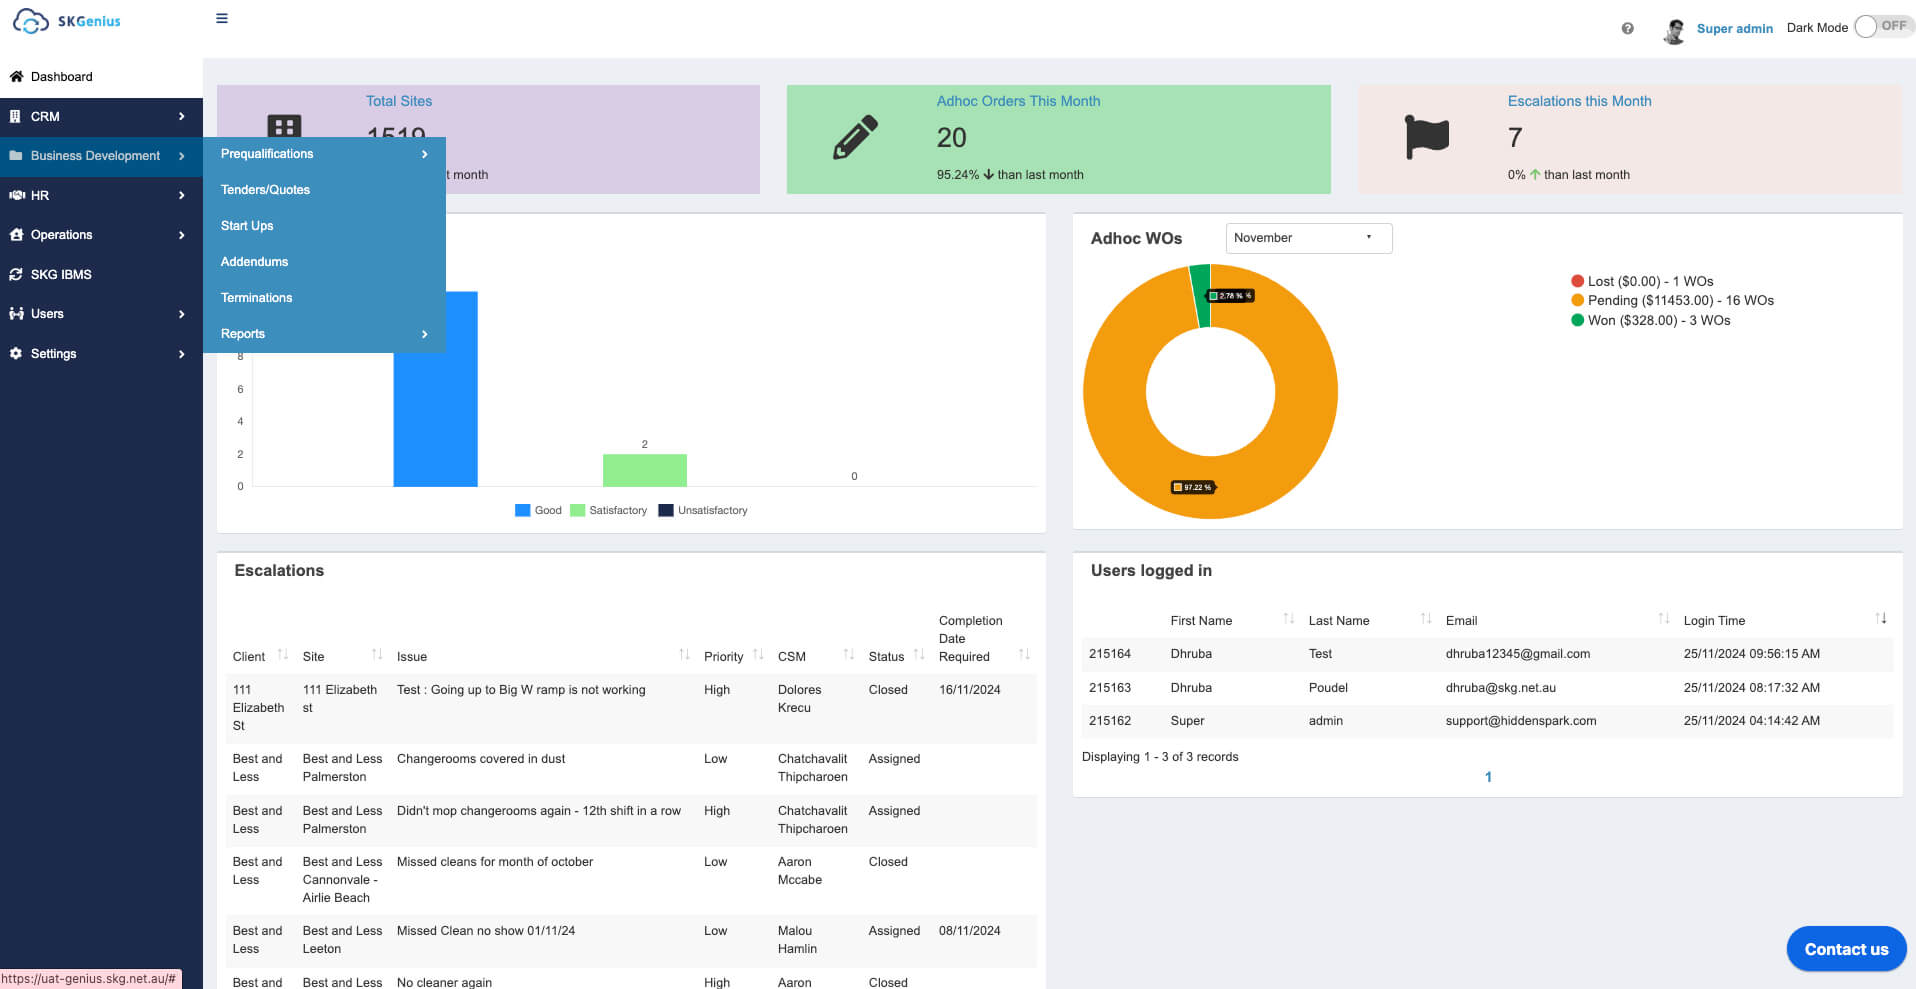
- Click “Termination”

- Enter Termination Details
Choose the sites to terminate, along with the reason, date of the termination letter/email, last day of cleaning, and further details. You can also upload supporting documents as attachments.
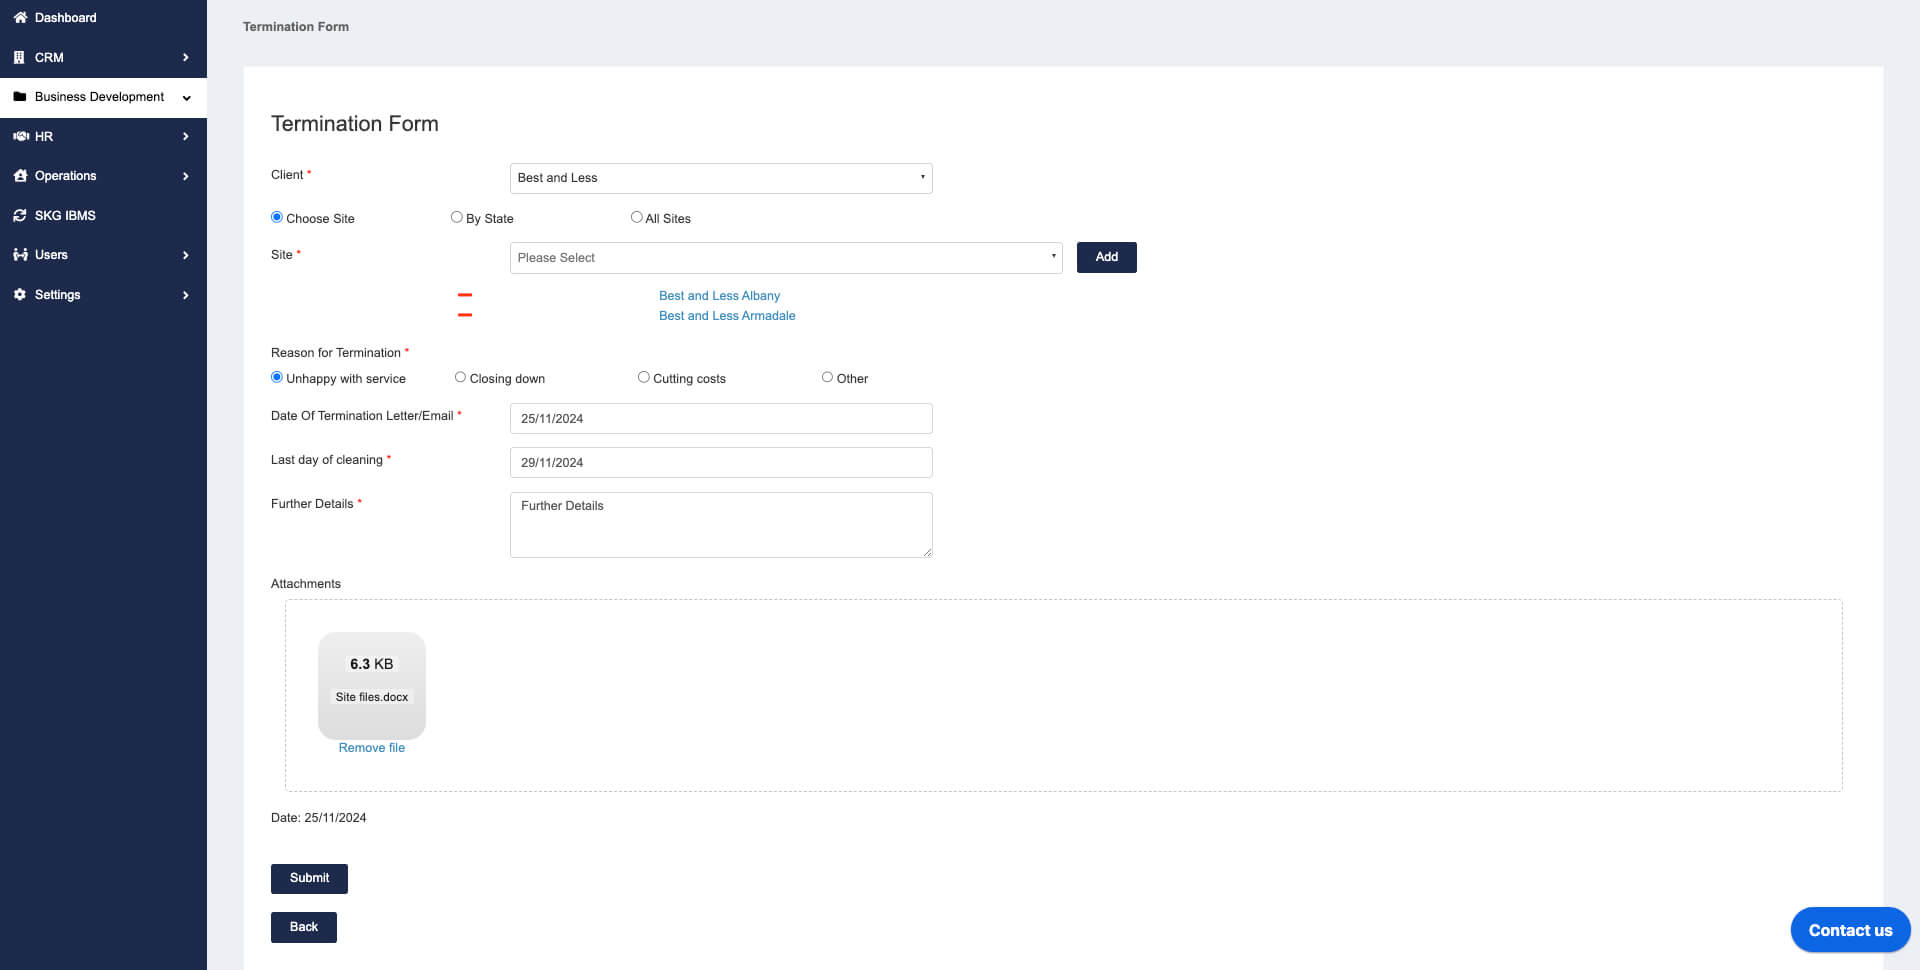
There are three ways to terminate sites-
Terminate by “Sites.” This allows you to search by the site name and click “Add” to confirm adding the site to the termination record (you can click the red “Remove” button to remove a site). You can terminate multiple sites in each termination record.
You can click on each site listed to view its details.
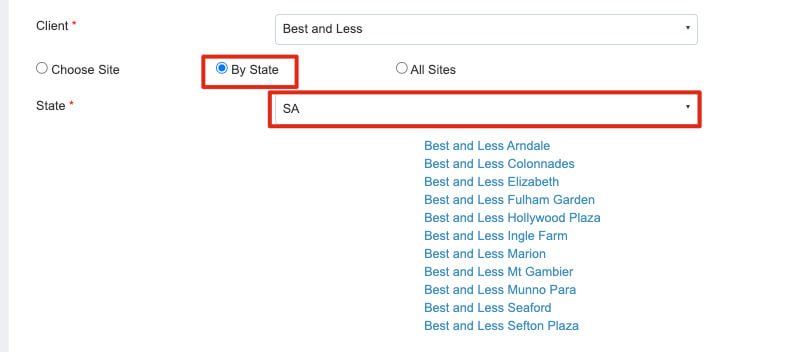
- Terminate by “State.” If the client is closing sites in one state, you can select the state from the dropdown list, and all the sites in the chosen state will be displayed underneath.
- Terminate all sites.
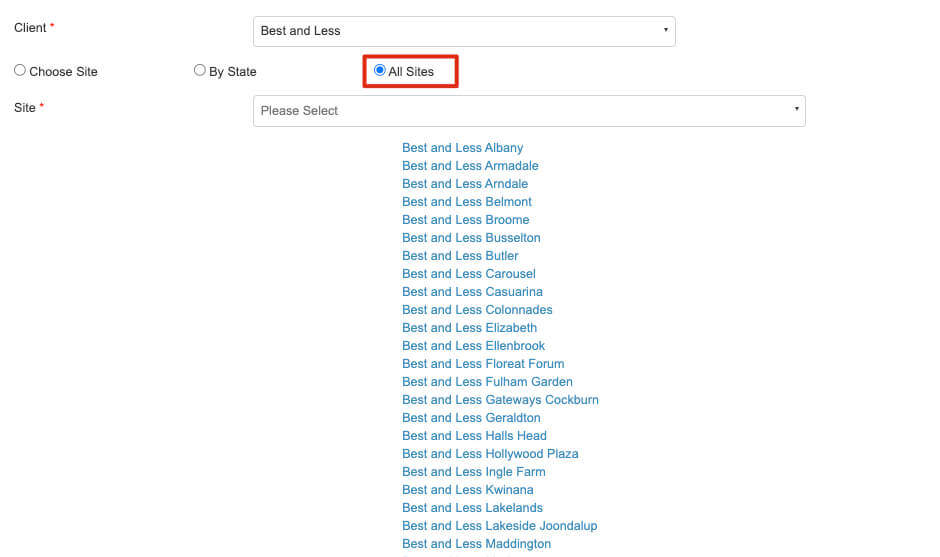
-
- After the termination record is submitted, you can find it in the list.
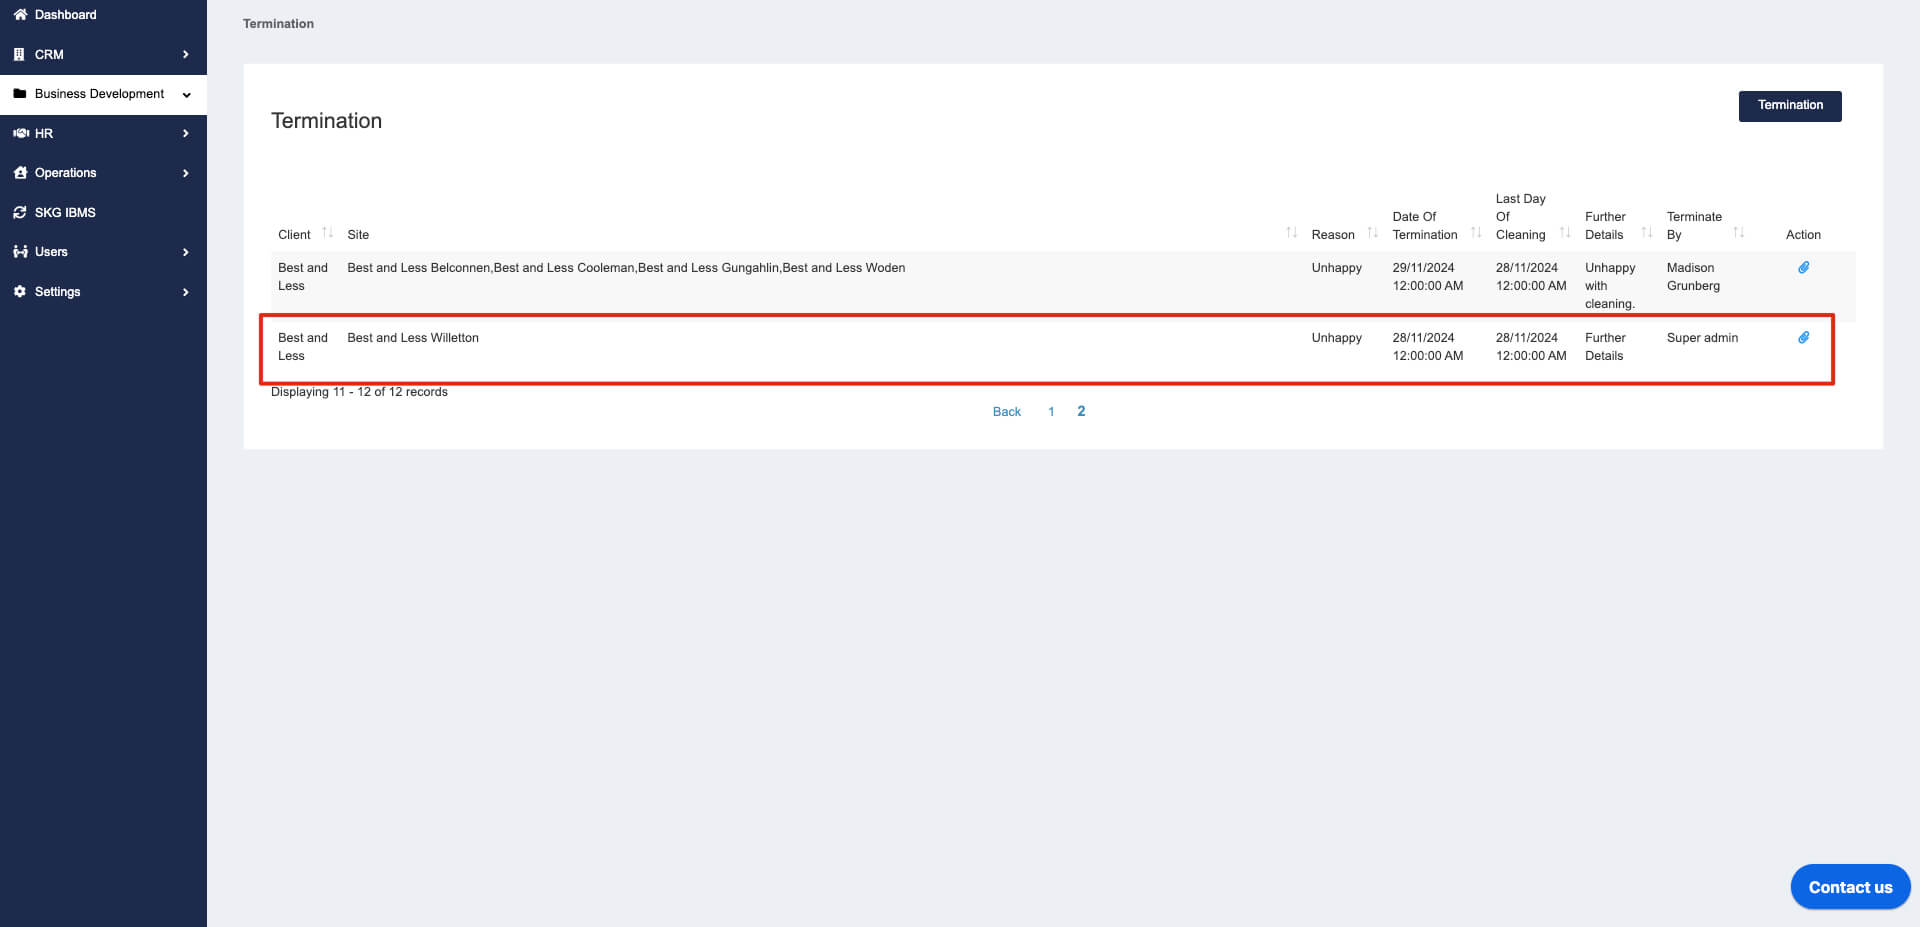 By clicking the “Paperclip” icon, you can view the PDF of the termination record. The details of the site will be included in the PDF if they have been filled in.
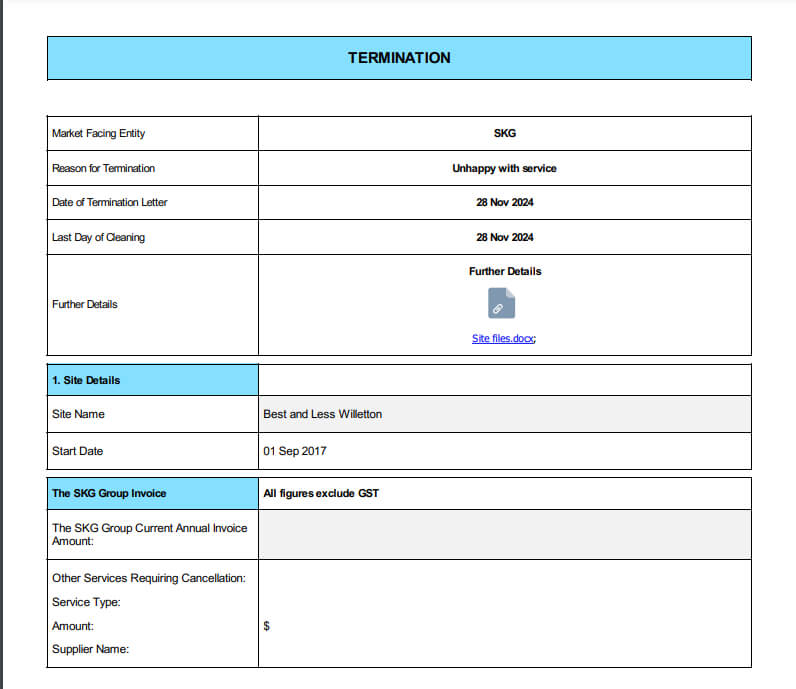
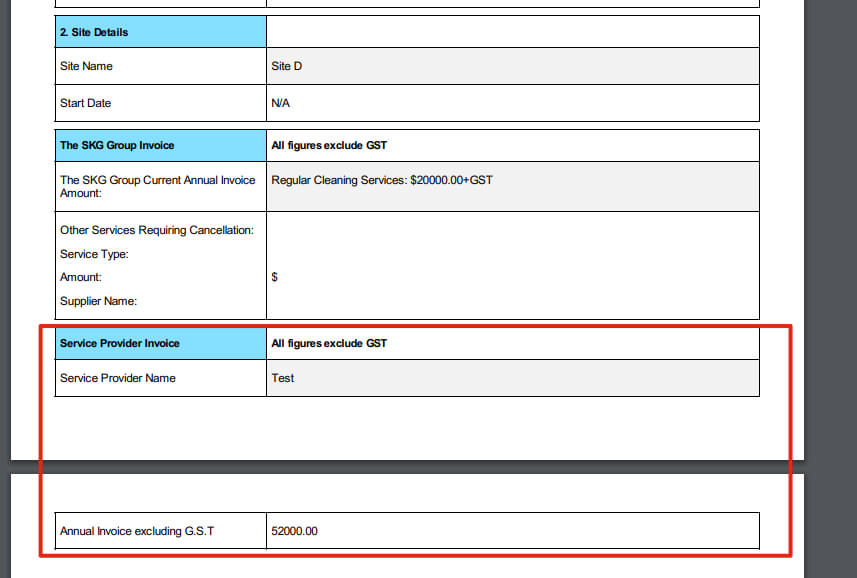
If the terminated site is an SP site, the SP details will also be included in the PDF.
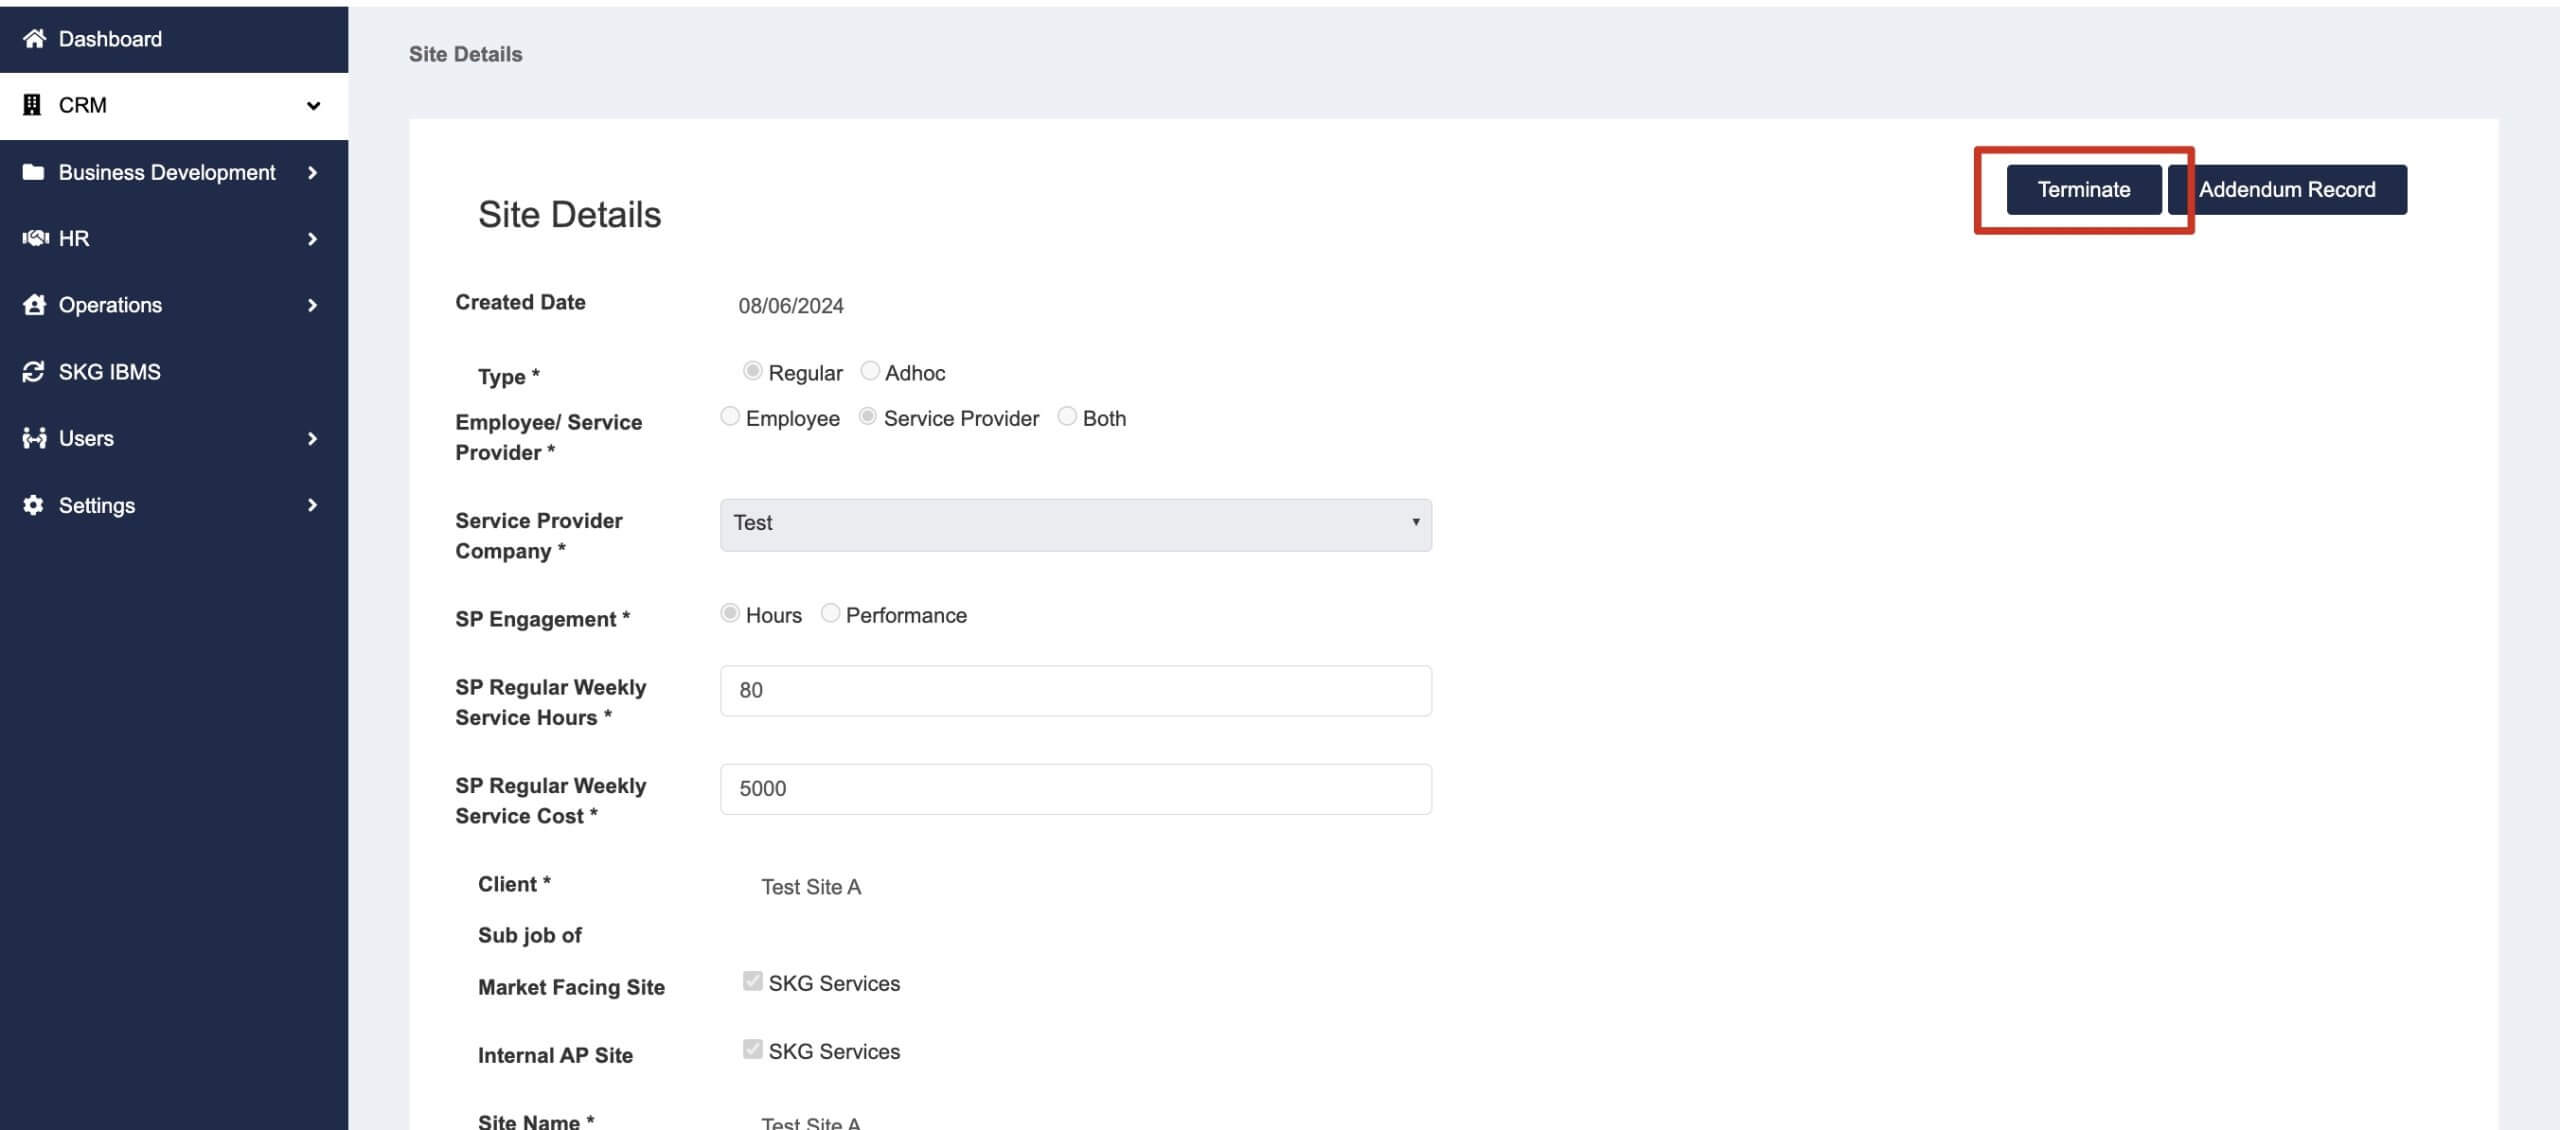
- You can also create Termination from the site details page.
Search for the site that you like to terminate in CRM -> Sites, and click on the “View” icon to view site details.

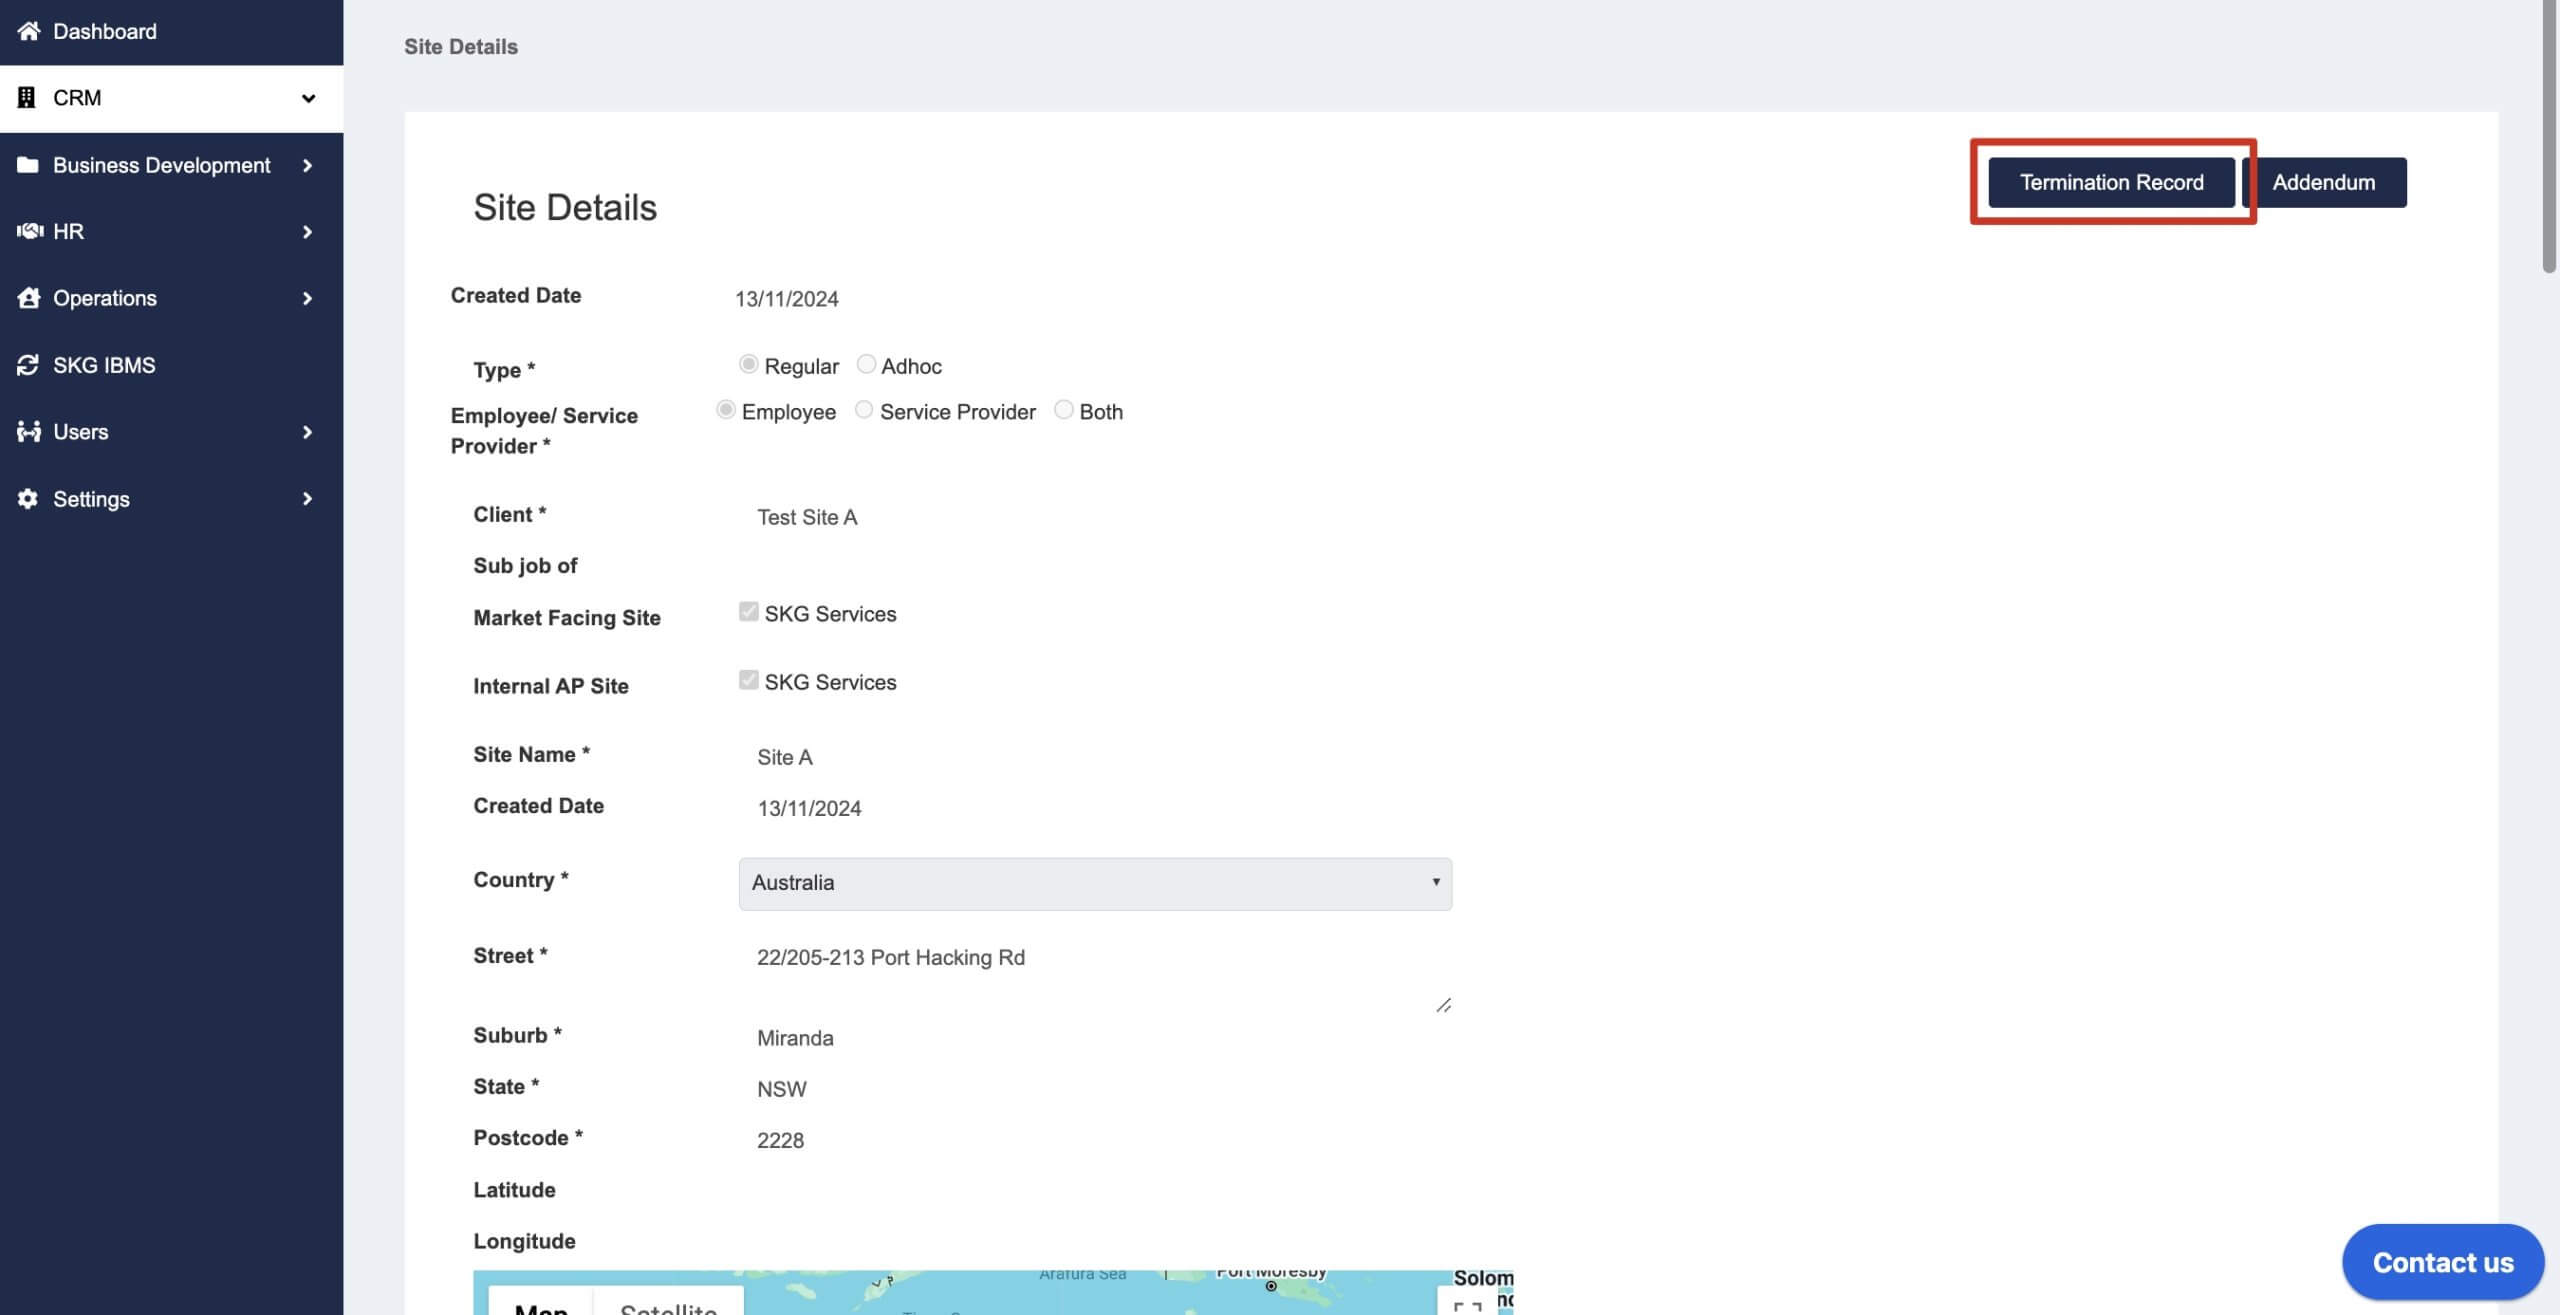
You can see the “Termination” button at the top-right corner.
- If you’d like to view the termination record for an inactive site, you can do so from the Site Details page.
Search for the site in CRM -> Site (ensure the status is set to “inactive” when searching), then click the “View” icon to open the details.
If the site is terminated, you’ll see the “Termination Record” button in the top-right corner.
