How Can We Help?
Mobile NFC Check In
- Open the mobile app and log in using your registered last name and phone number.
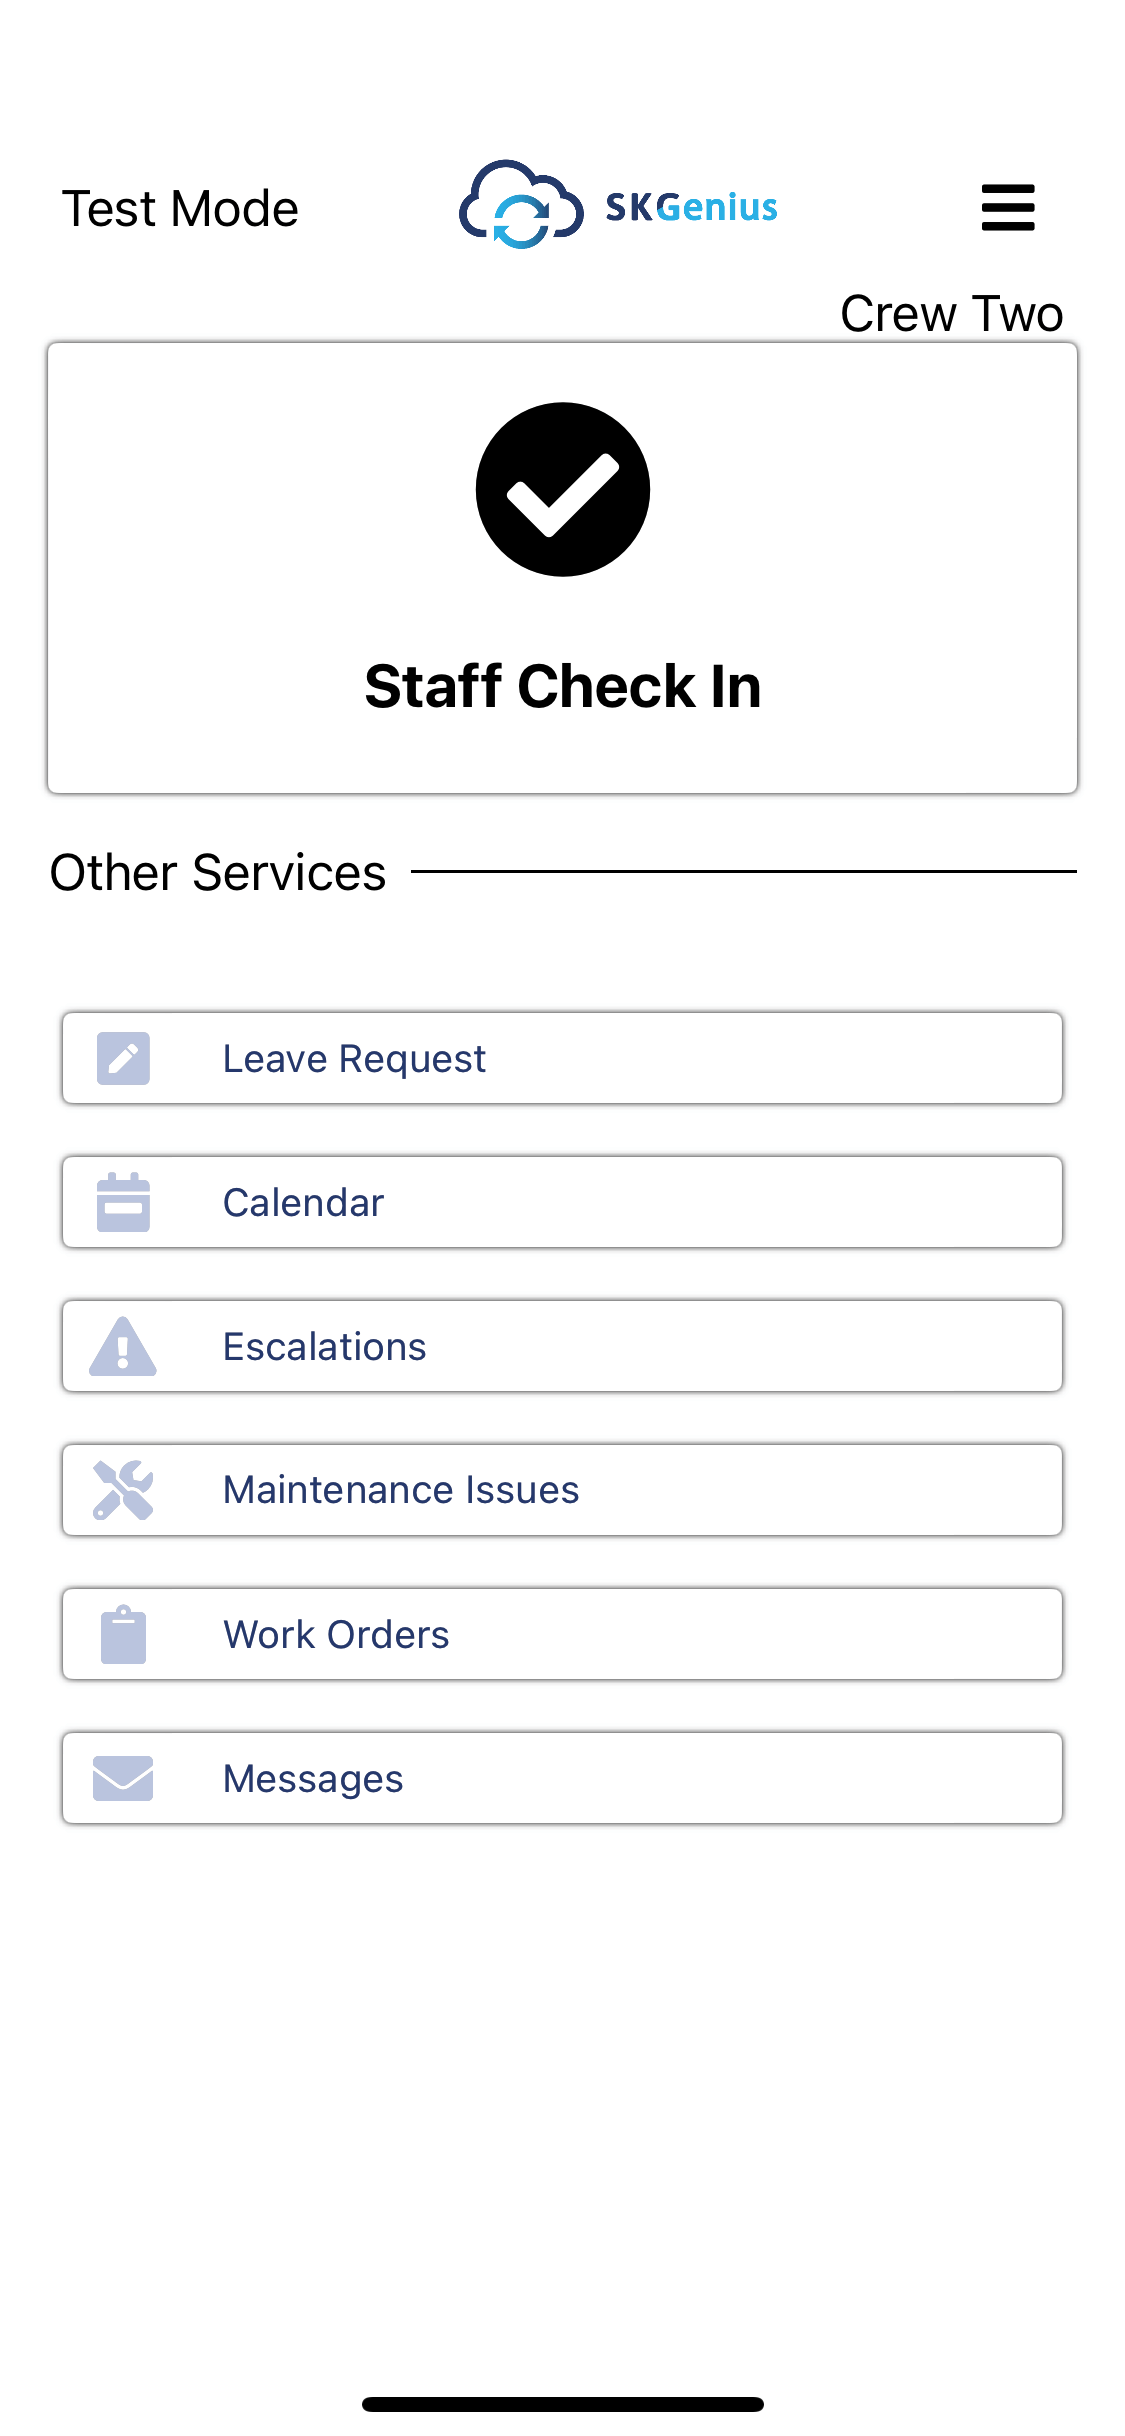
*Make sure to turn on NFC, and automatic date and time in settings in your phone, to make sure it won’t block from logging in. - Click “Staff Check In” to access the check-in function.
- Click the “Check-In” button to scan the NFC.
- Make sure the NFC function is enabled in your mobile app. You can click the “Profile” icon on the right to turn on this setting.
*To ensure this function works, please check the NFC setting on your mobile phone and ensure it is turned on.
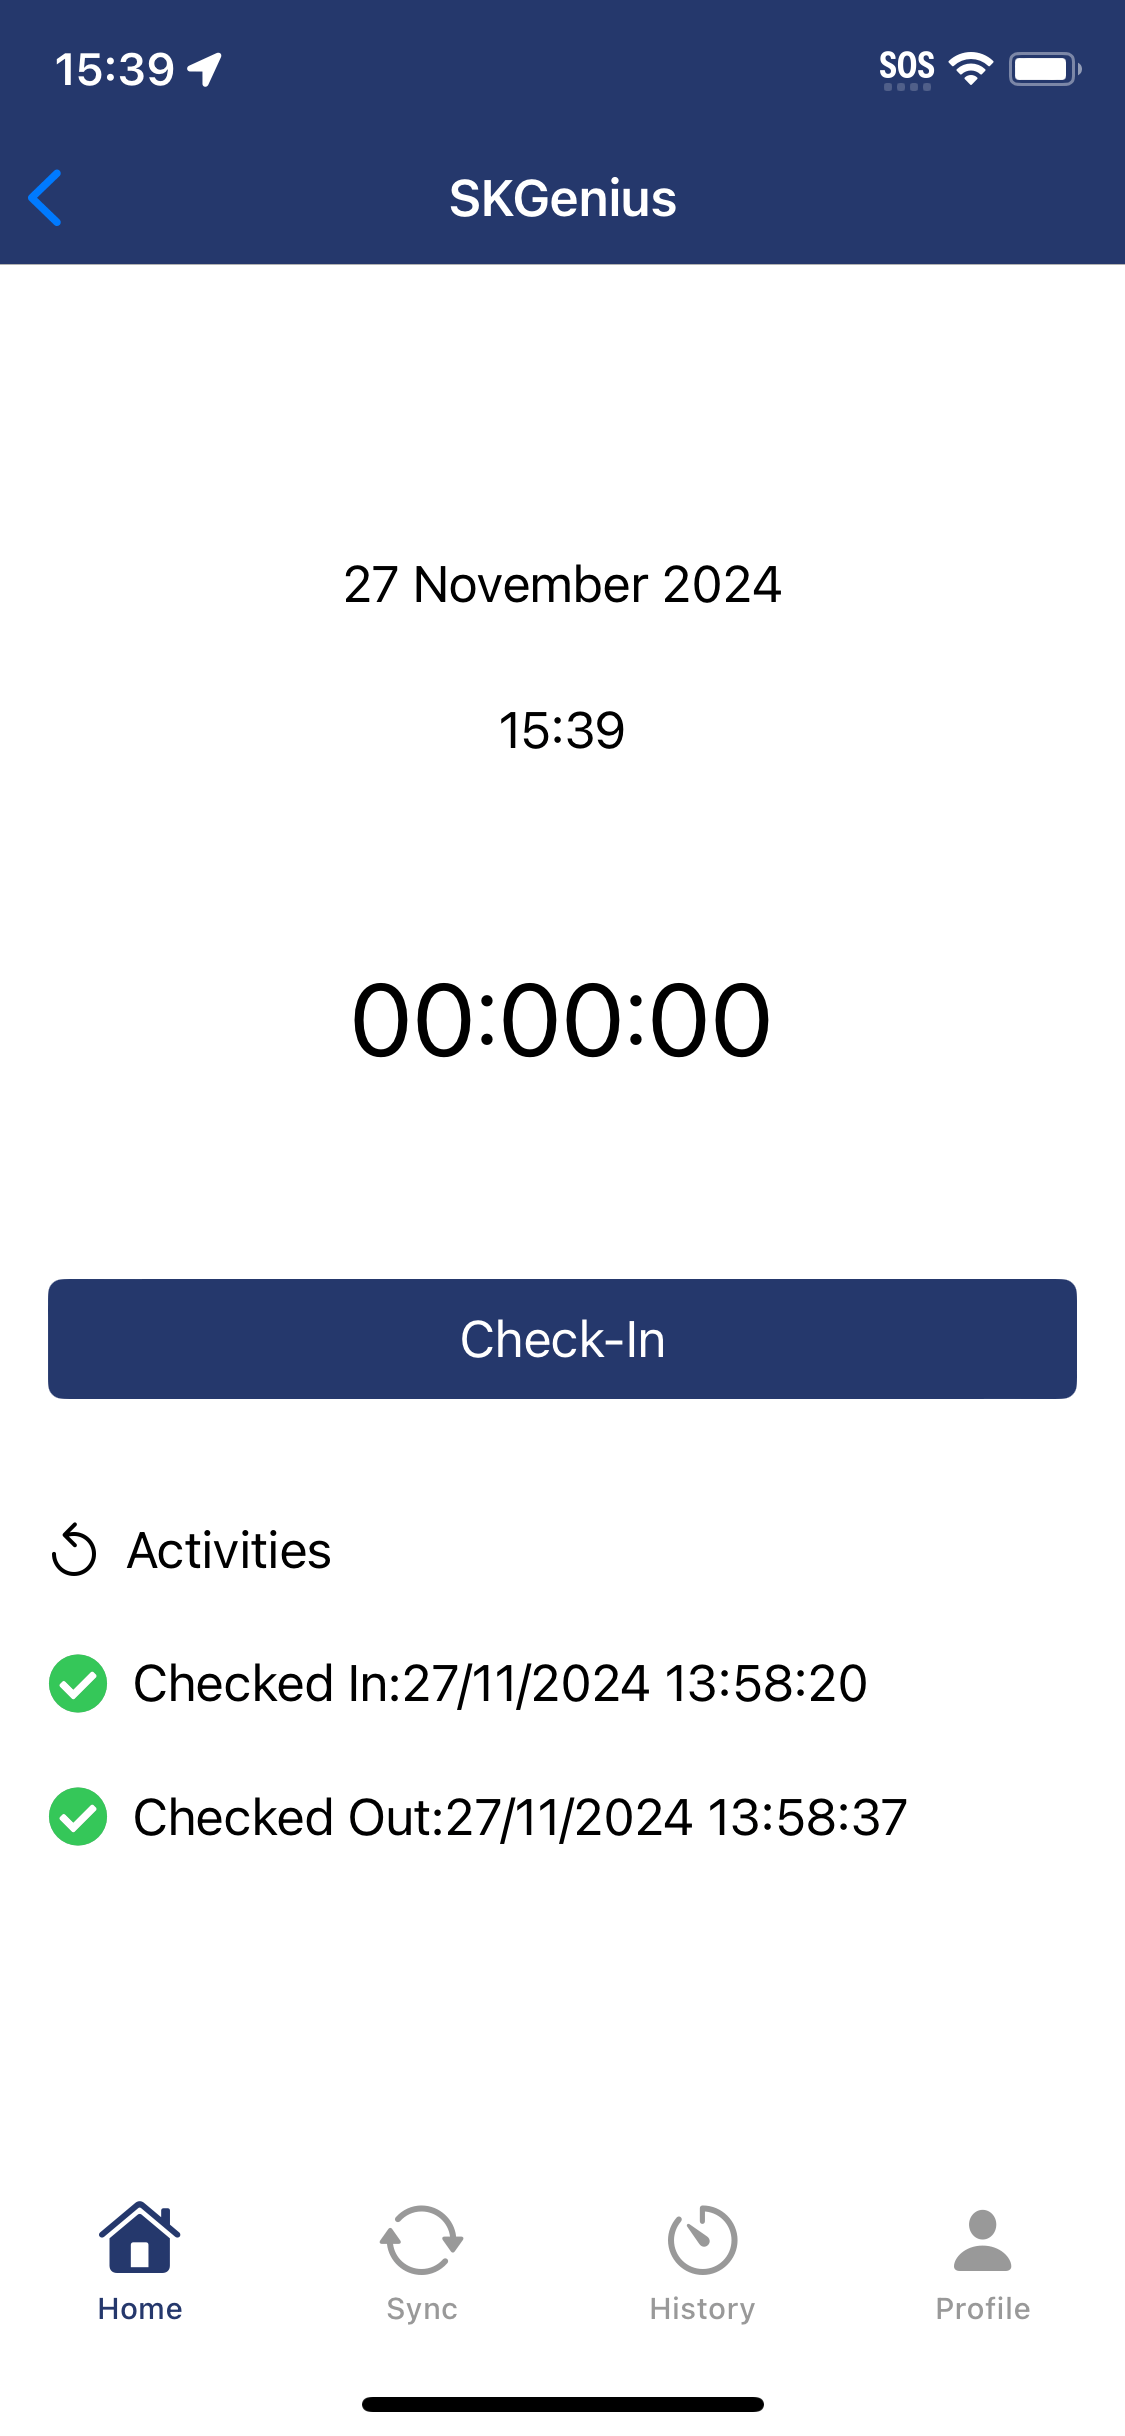
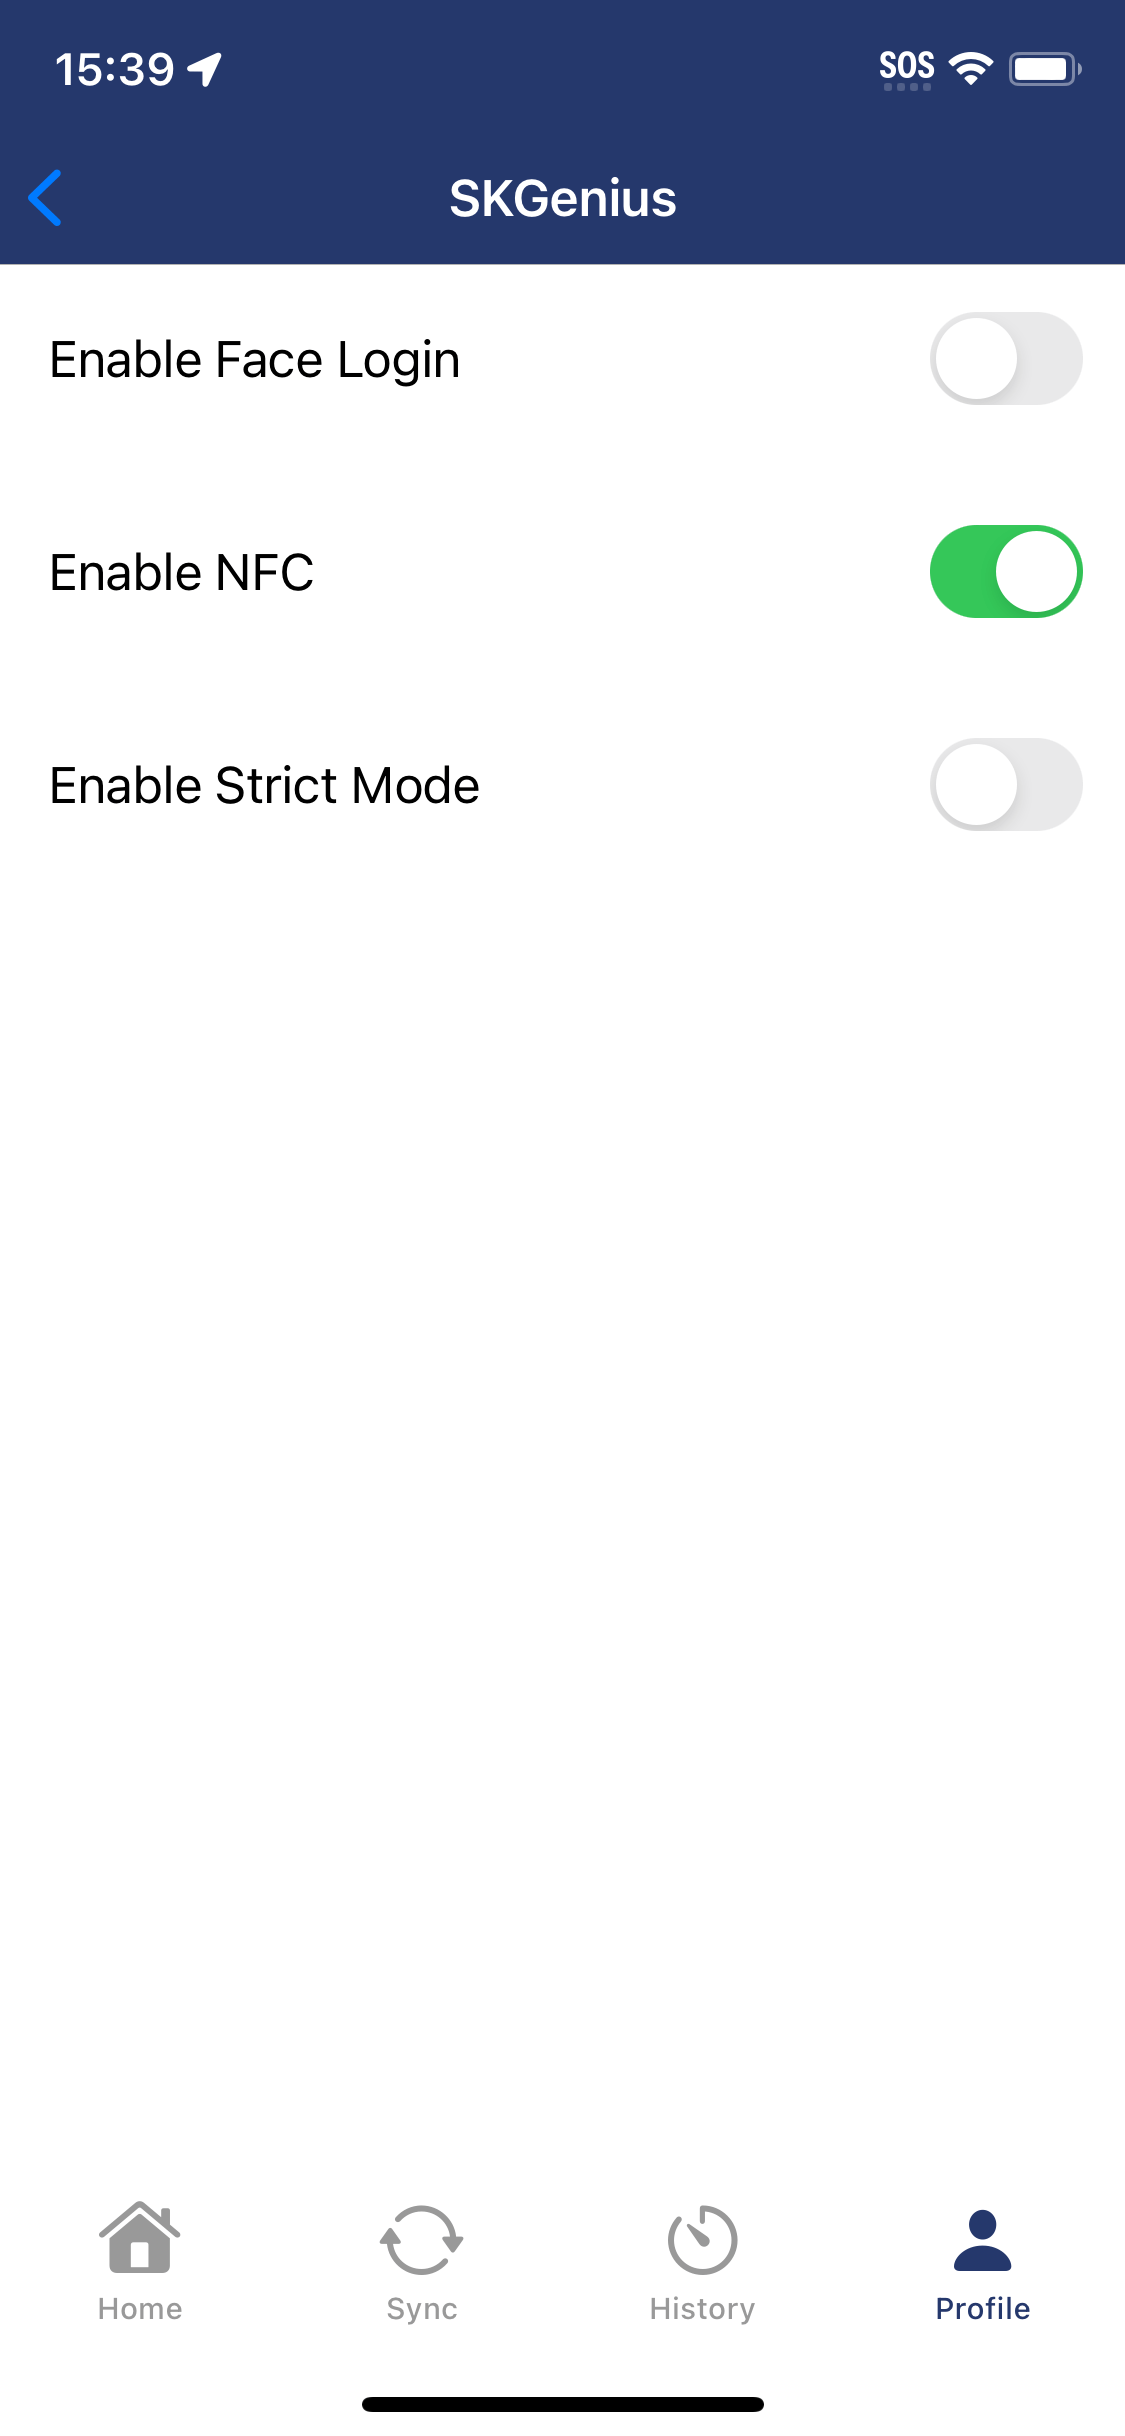
- If the “Enable NFC” setting is turned on, click “Home” to return to the check-in screen and proceed with the check-in.
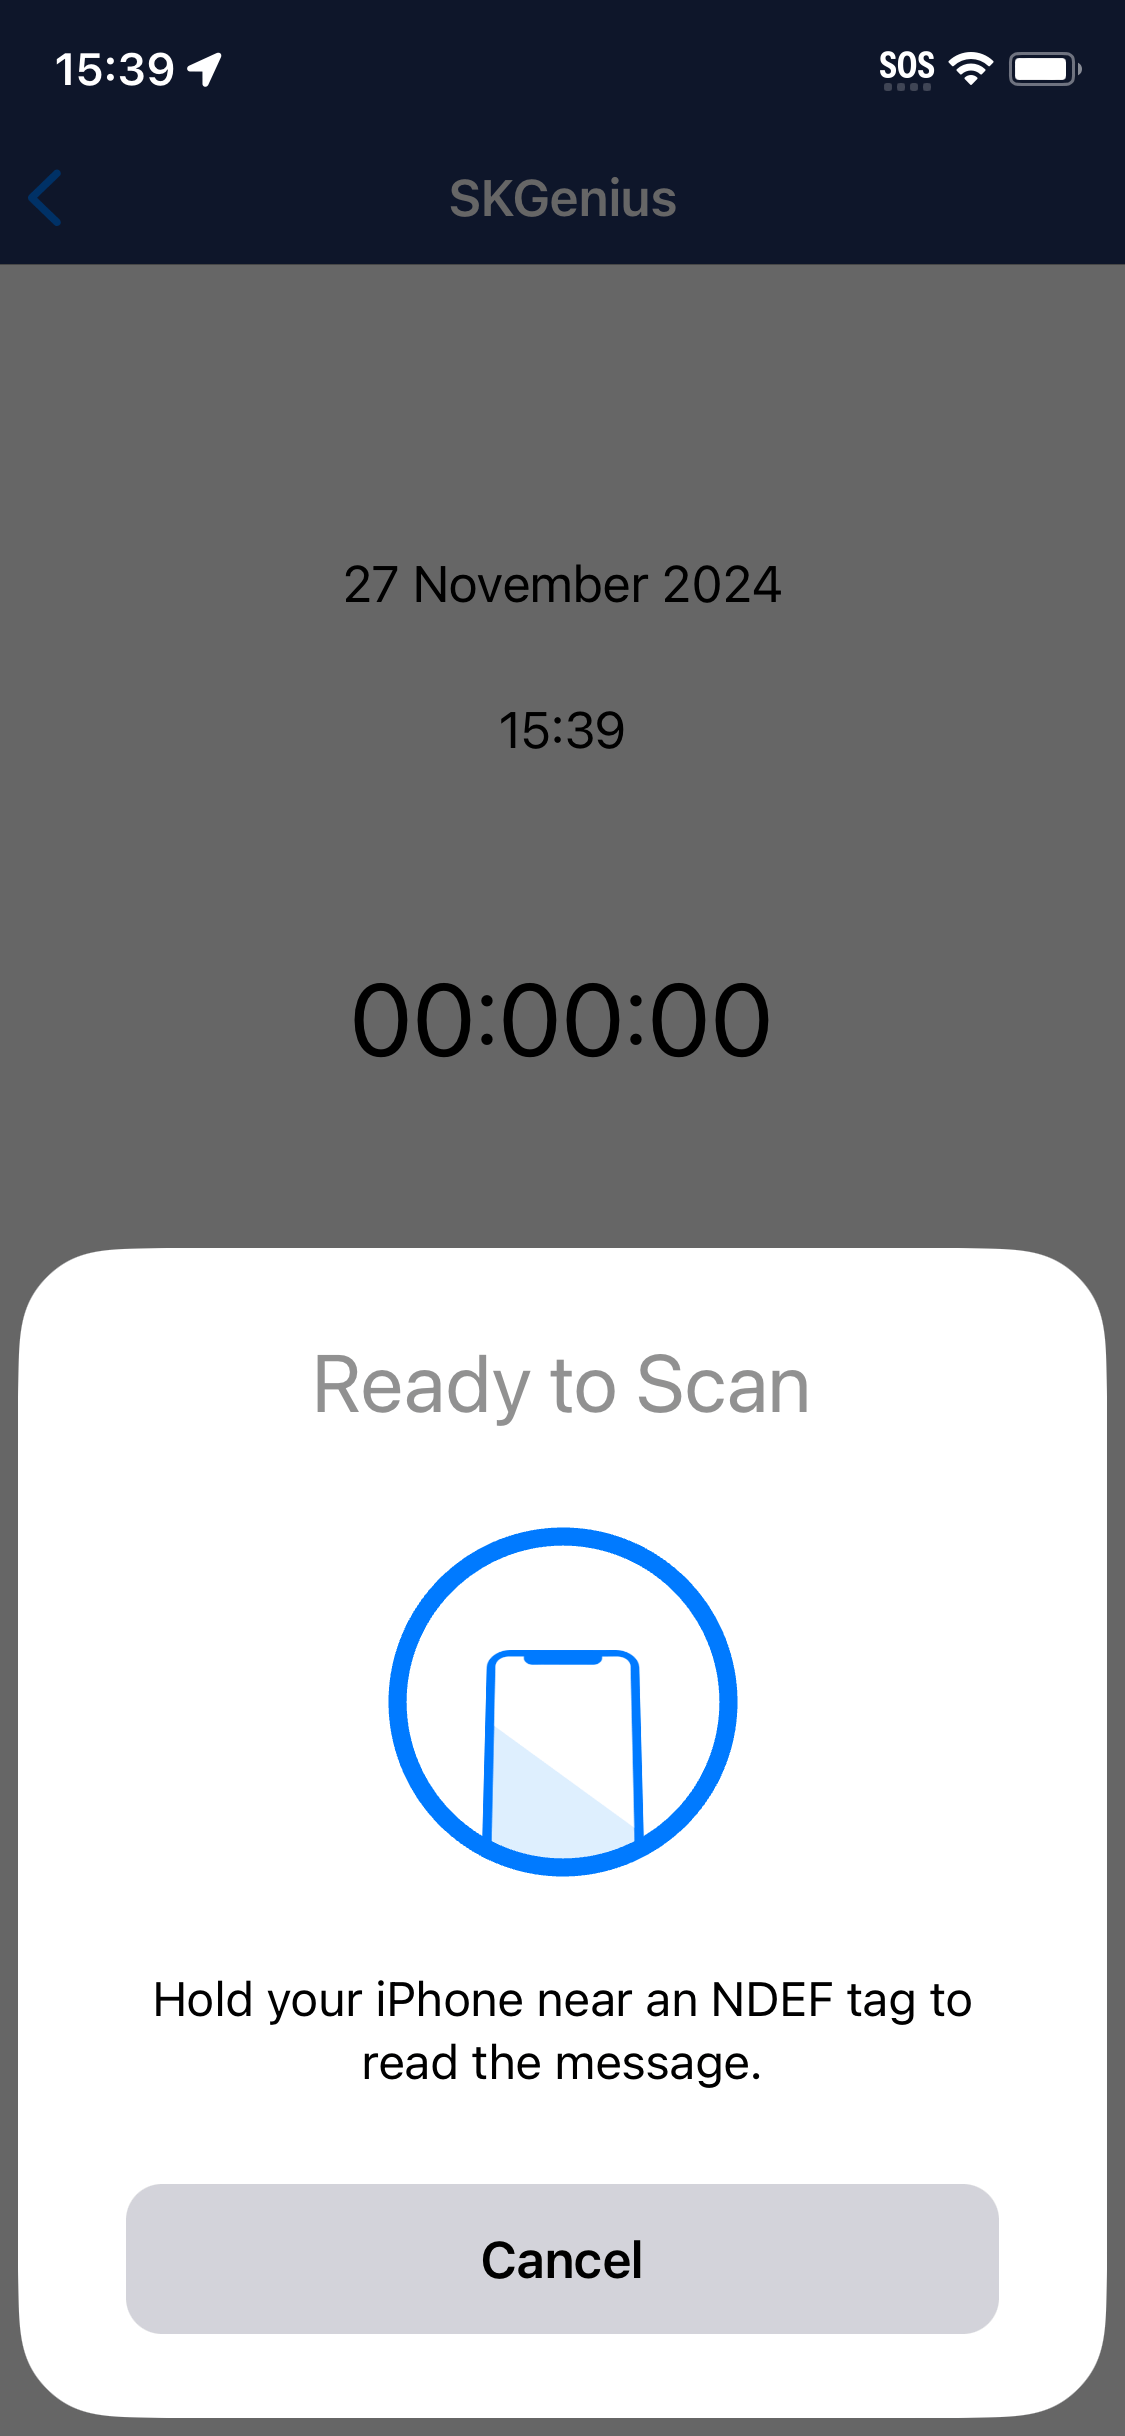
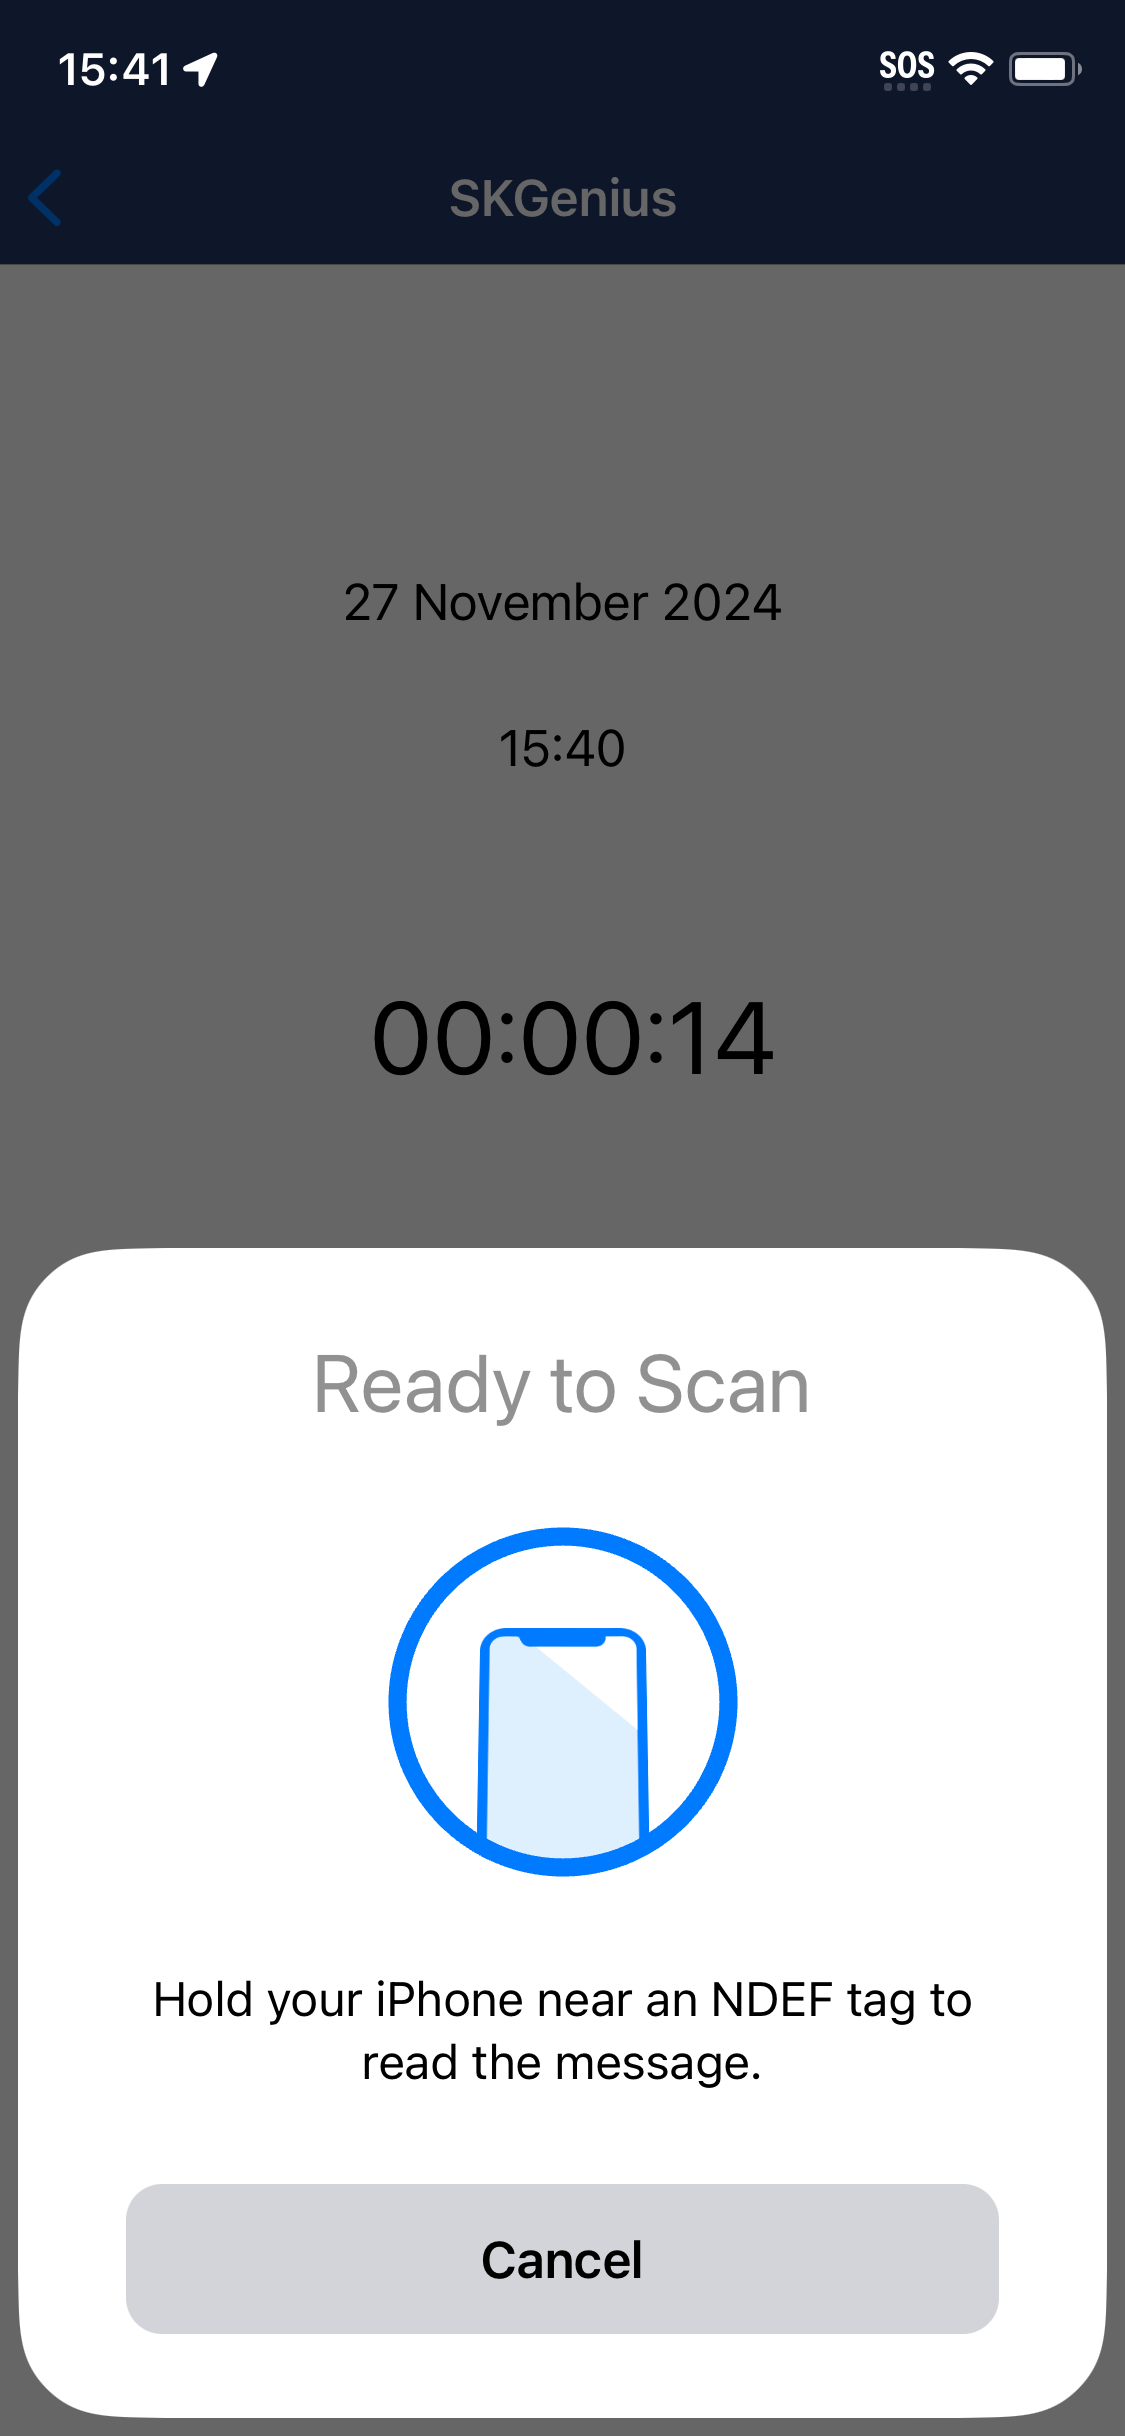
Click “Check-In,” then scan the tag with your phone. The NFC scanning indicator will automatically appear on your screen.
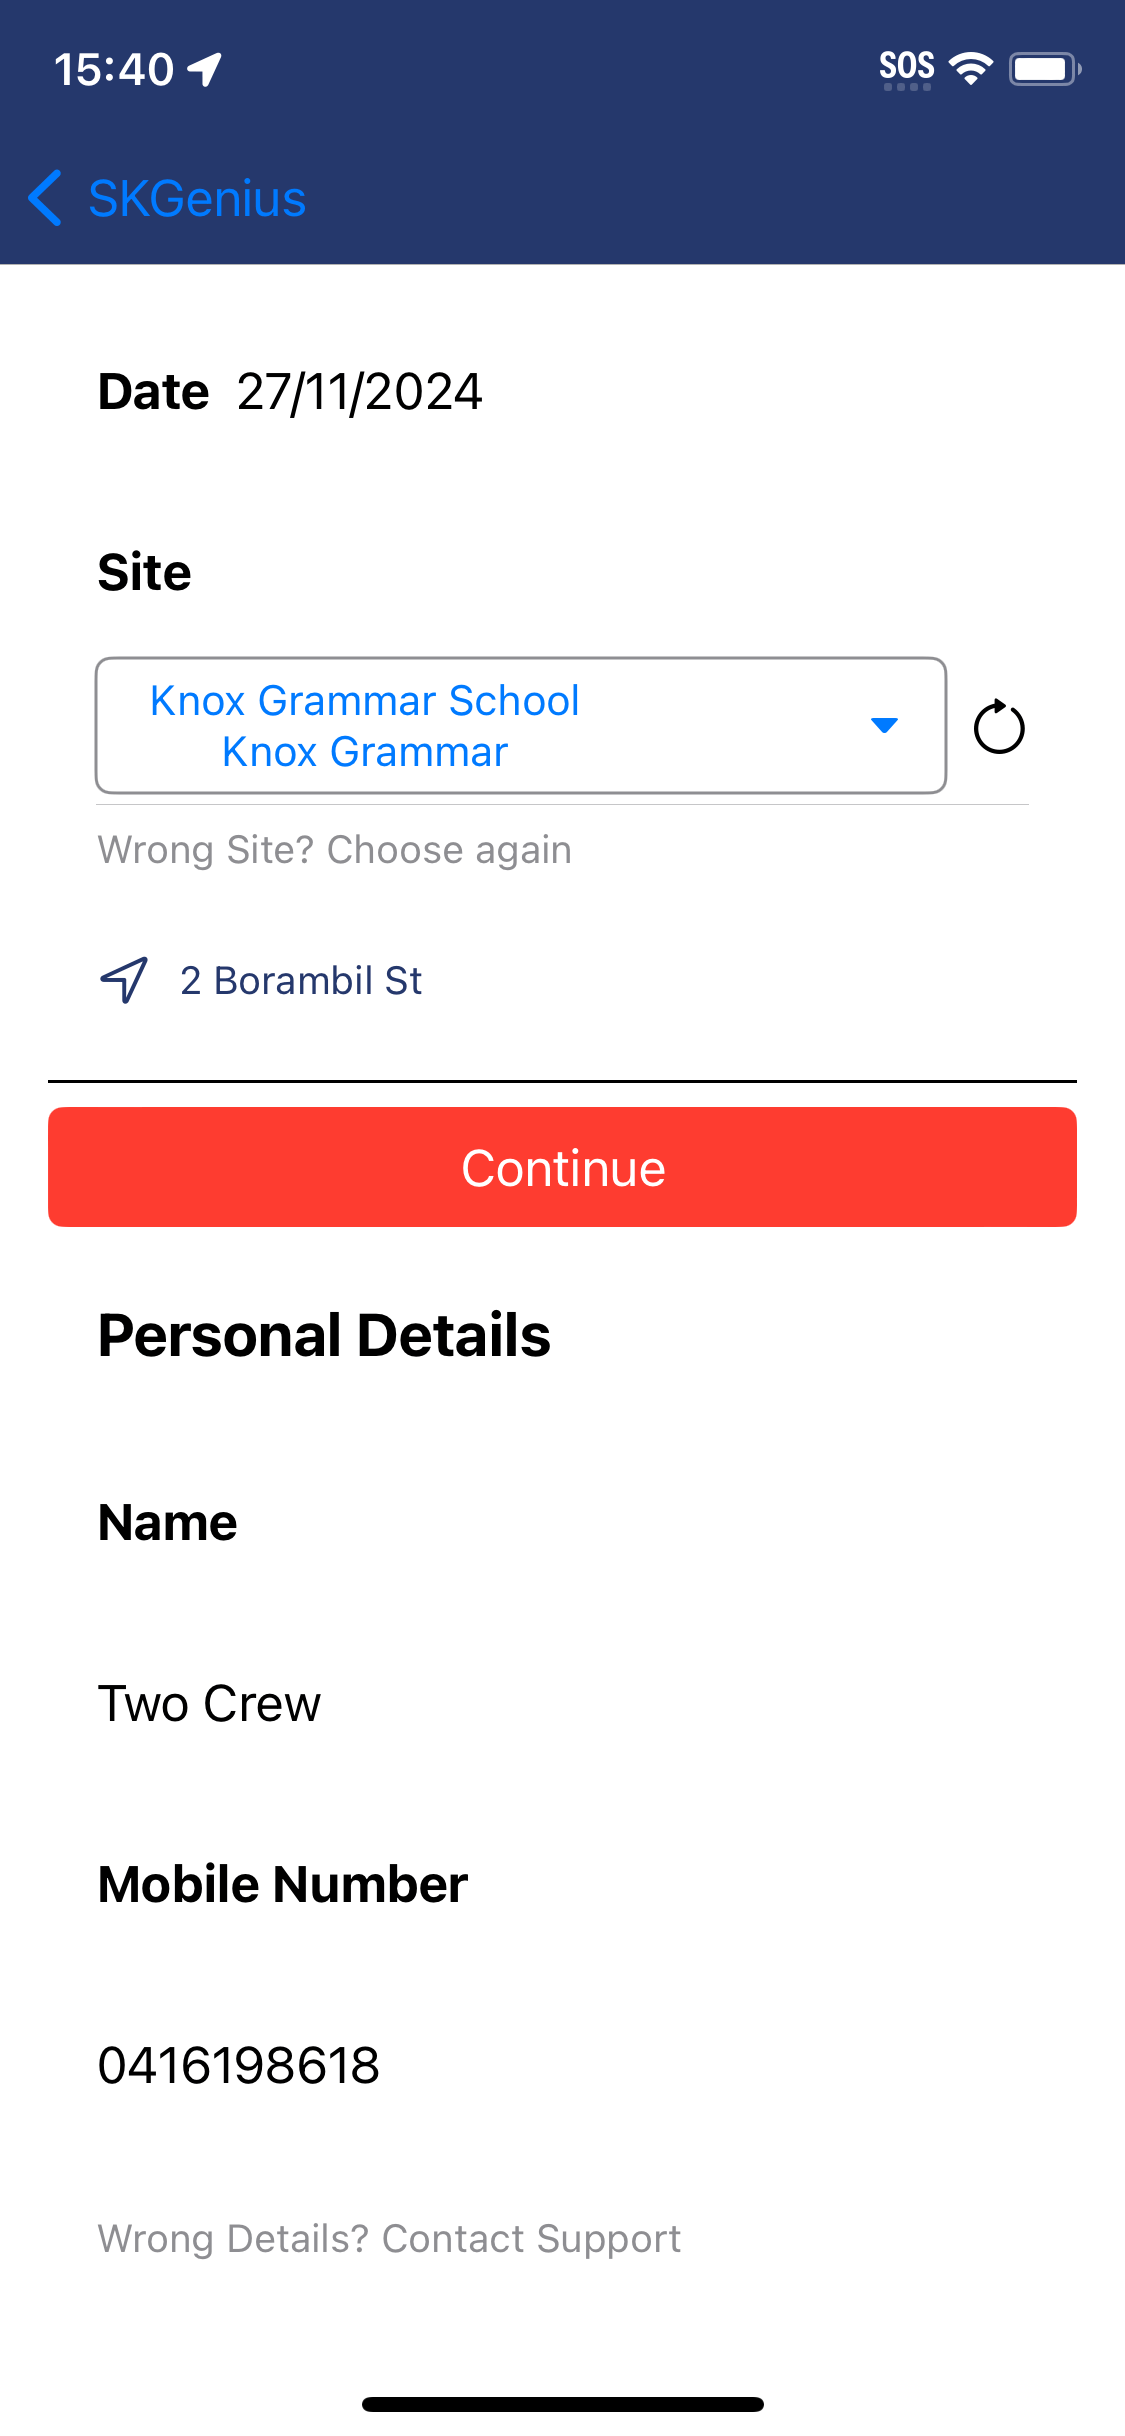
- After successfully scanning the NFC tag, the site will automatically populate in the “Site” field.
Click “Continue” to start the timer. Once checked in, your check in time logs will be automatically synced to the system.
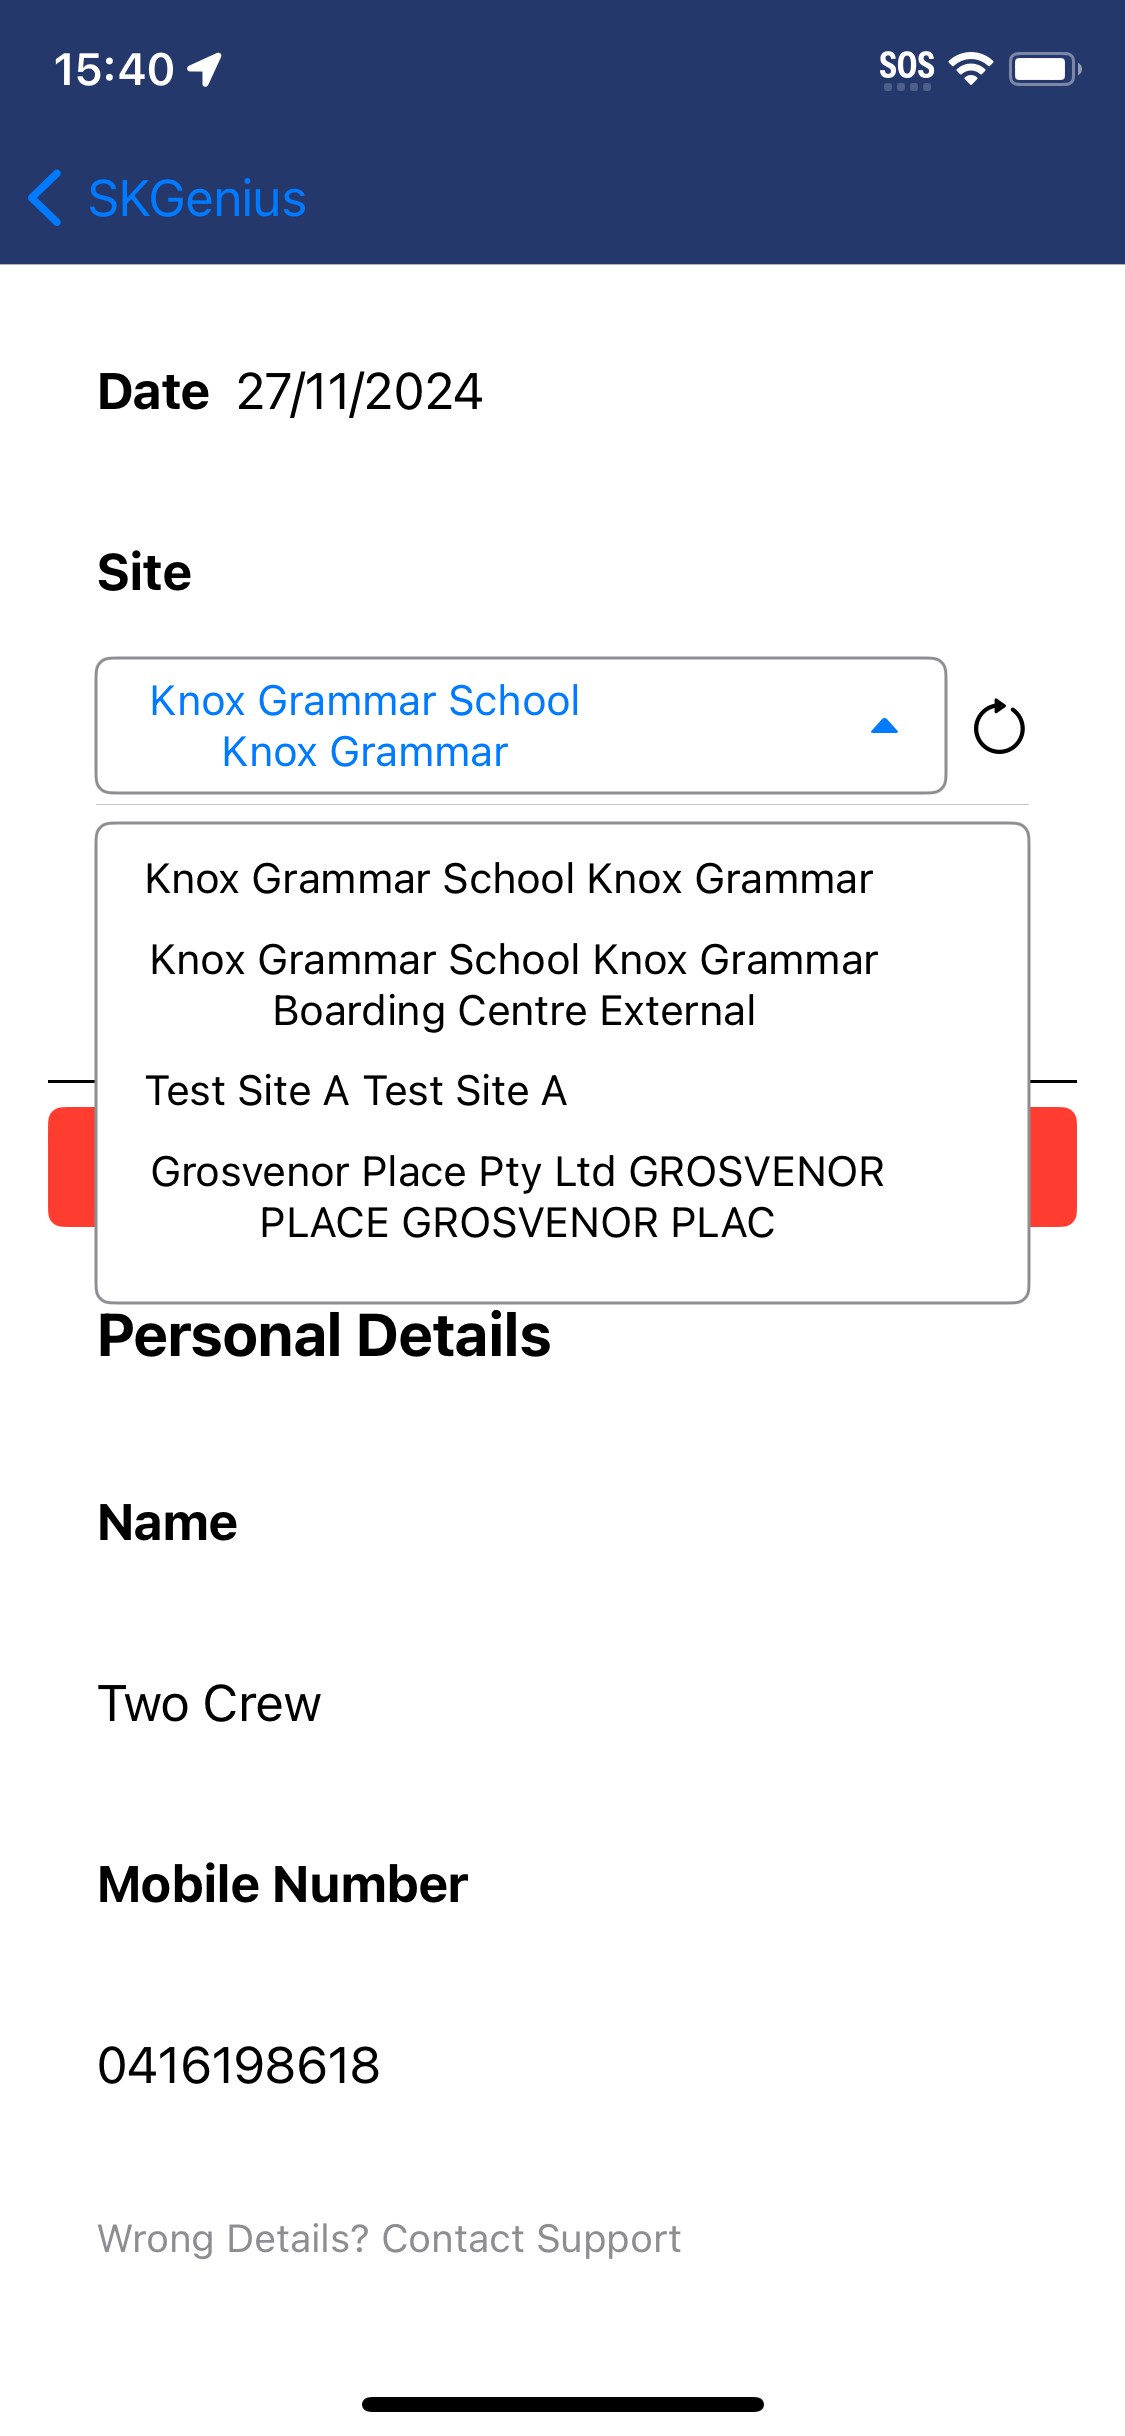
If the site is incorrect, you can manually select the correct site from the dropdown list to check in.
- When the job is completed, click “Check Out” to finish. You’ll need to scan the NFC tag again to check out. Once done, your check out time log will be automatically synced to the system.
- Make sure the NFC function is enabled in your mobile app. You can click the “Profile” icon on the right to turn on this setting.
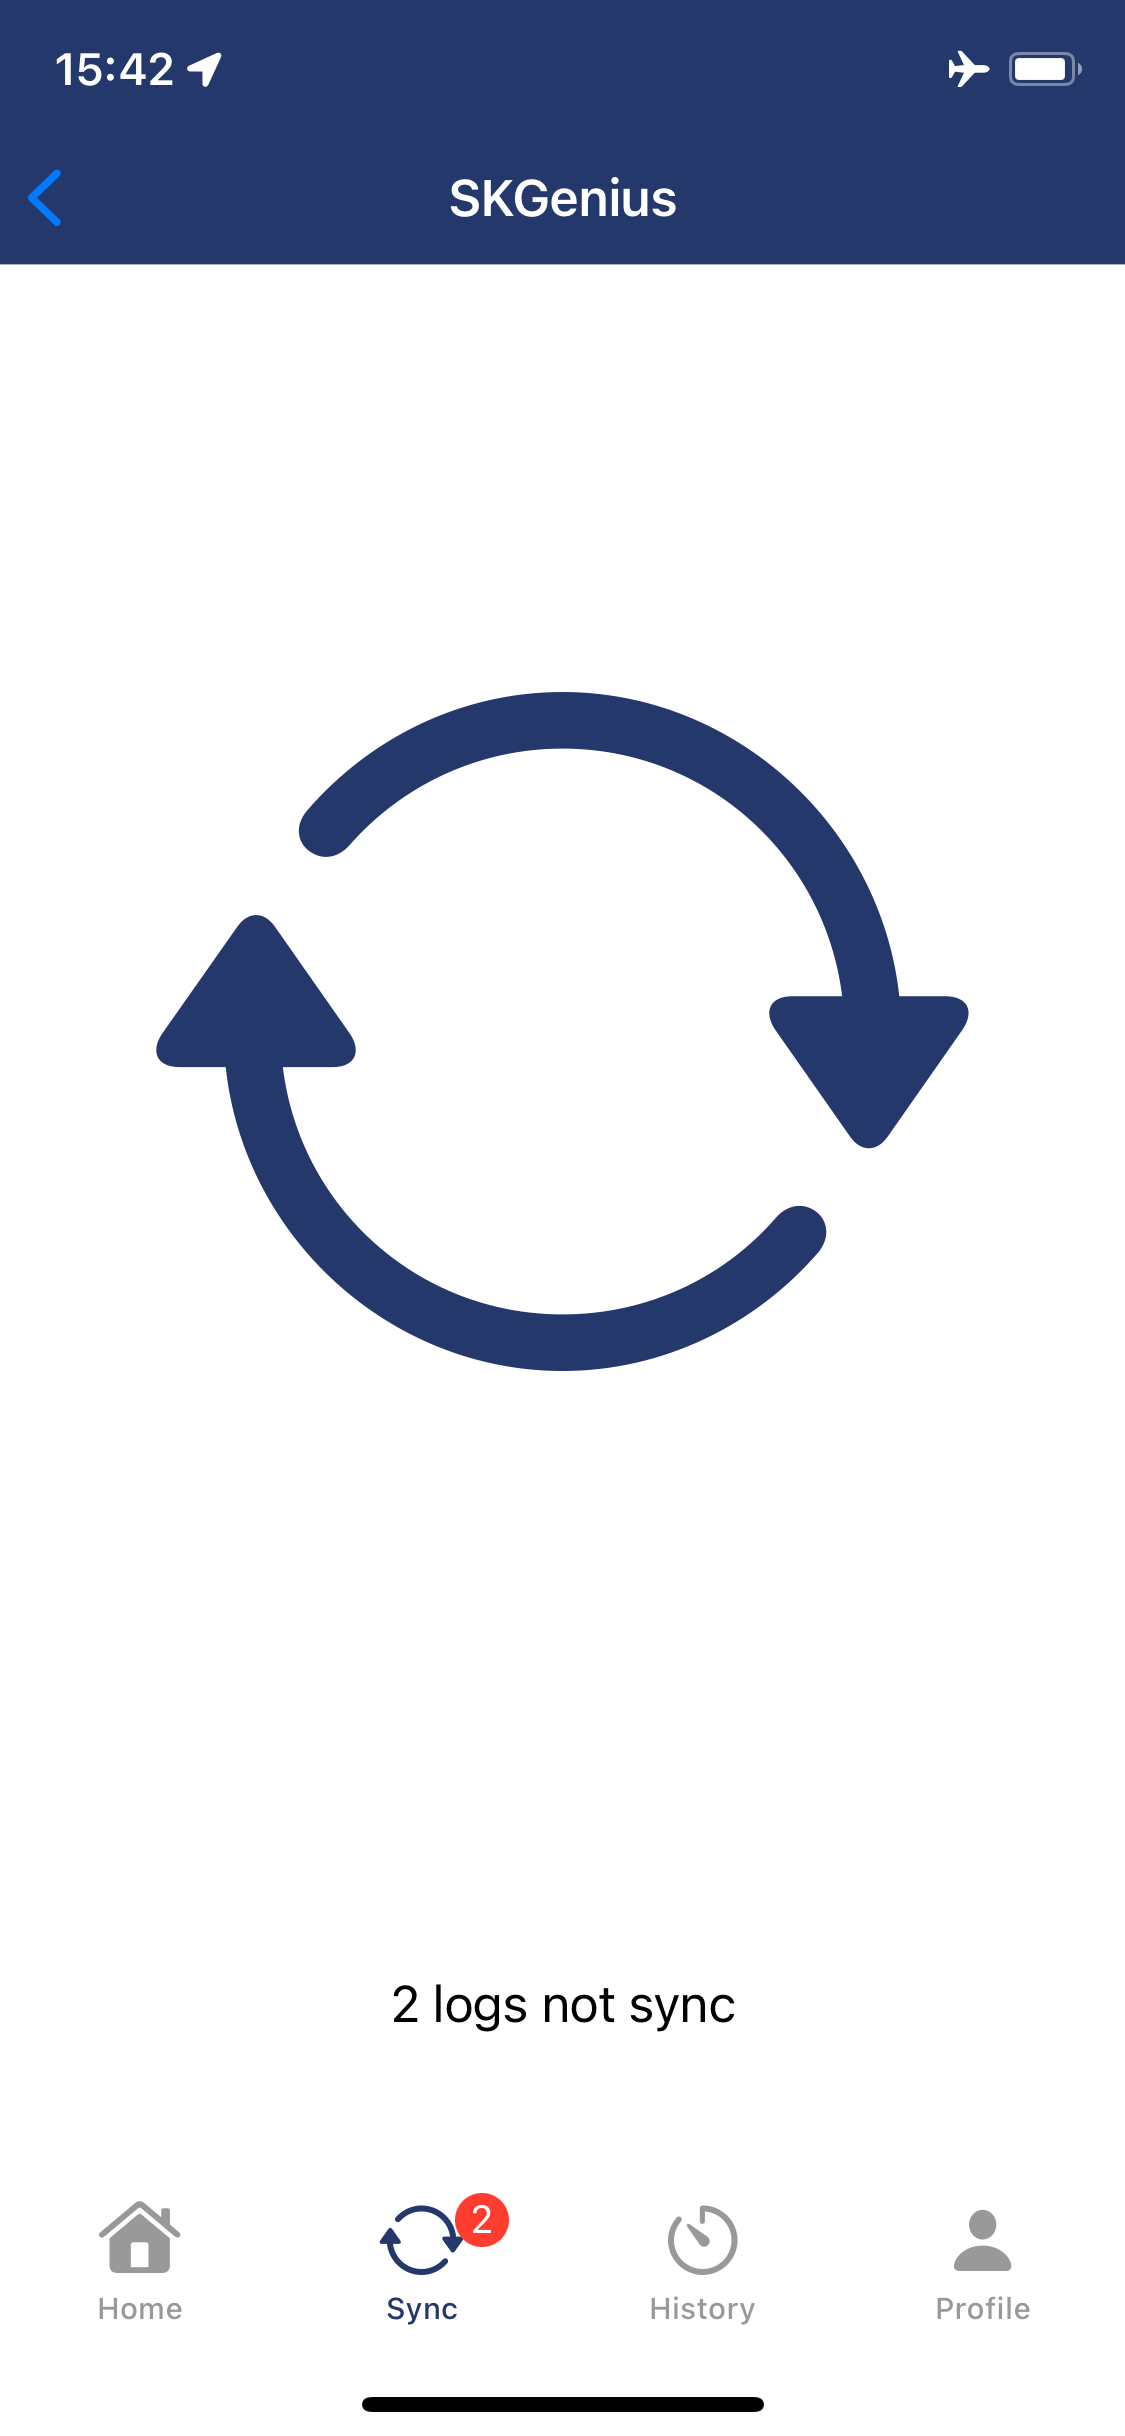
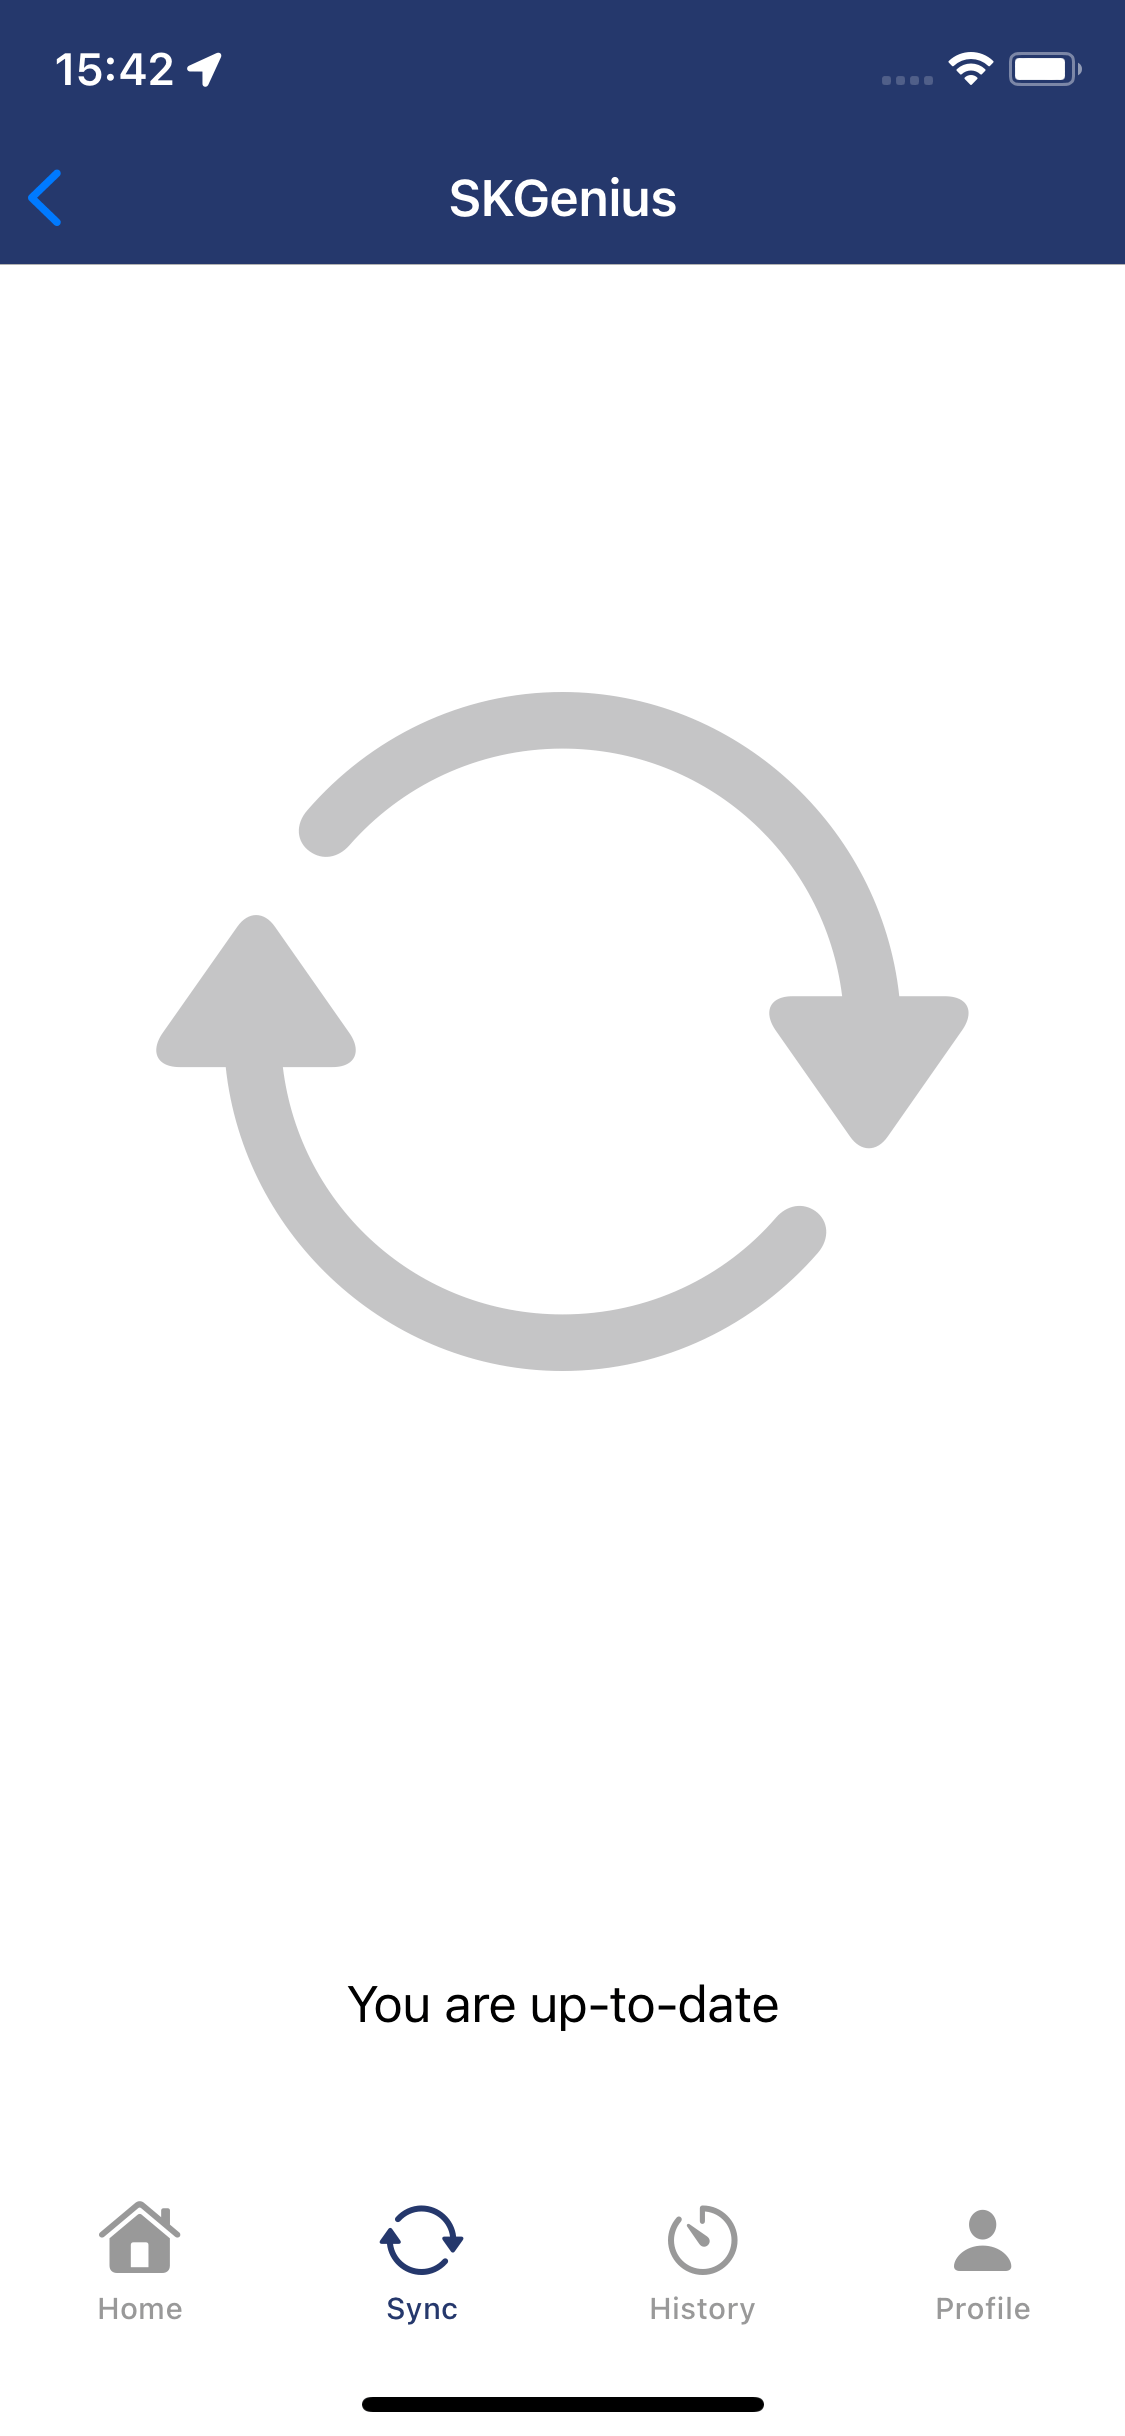
- If you check in/out without internet connection. You will see the “Sync” page showing the number of un-synced logs. You can click the “Sync” button on the page after reconnecting to the internet so that your time logs can be synced to the system.
